I get into watchmaking and Matic makes it onto a watch
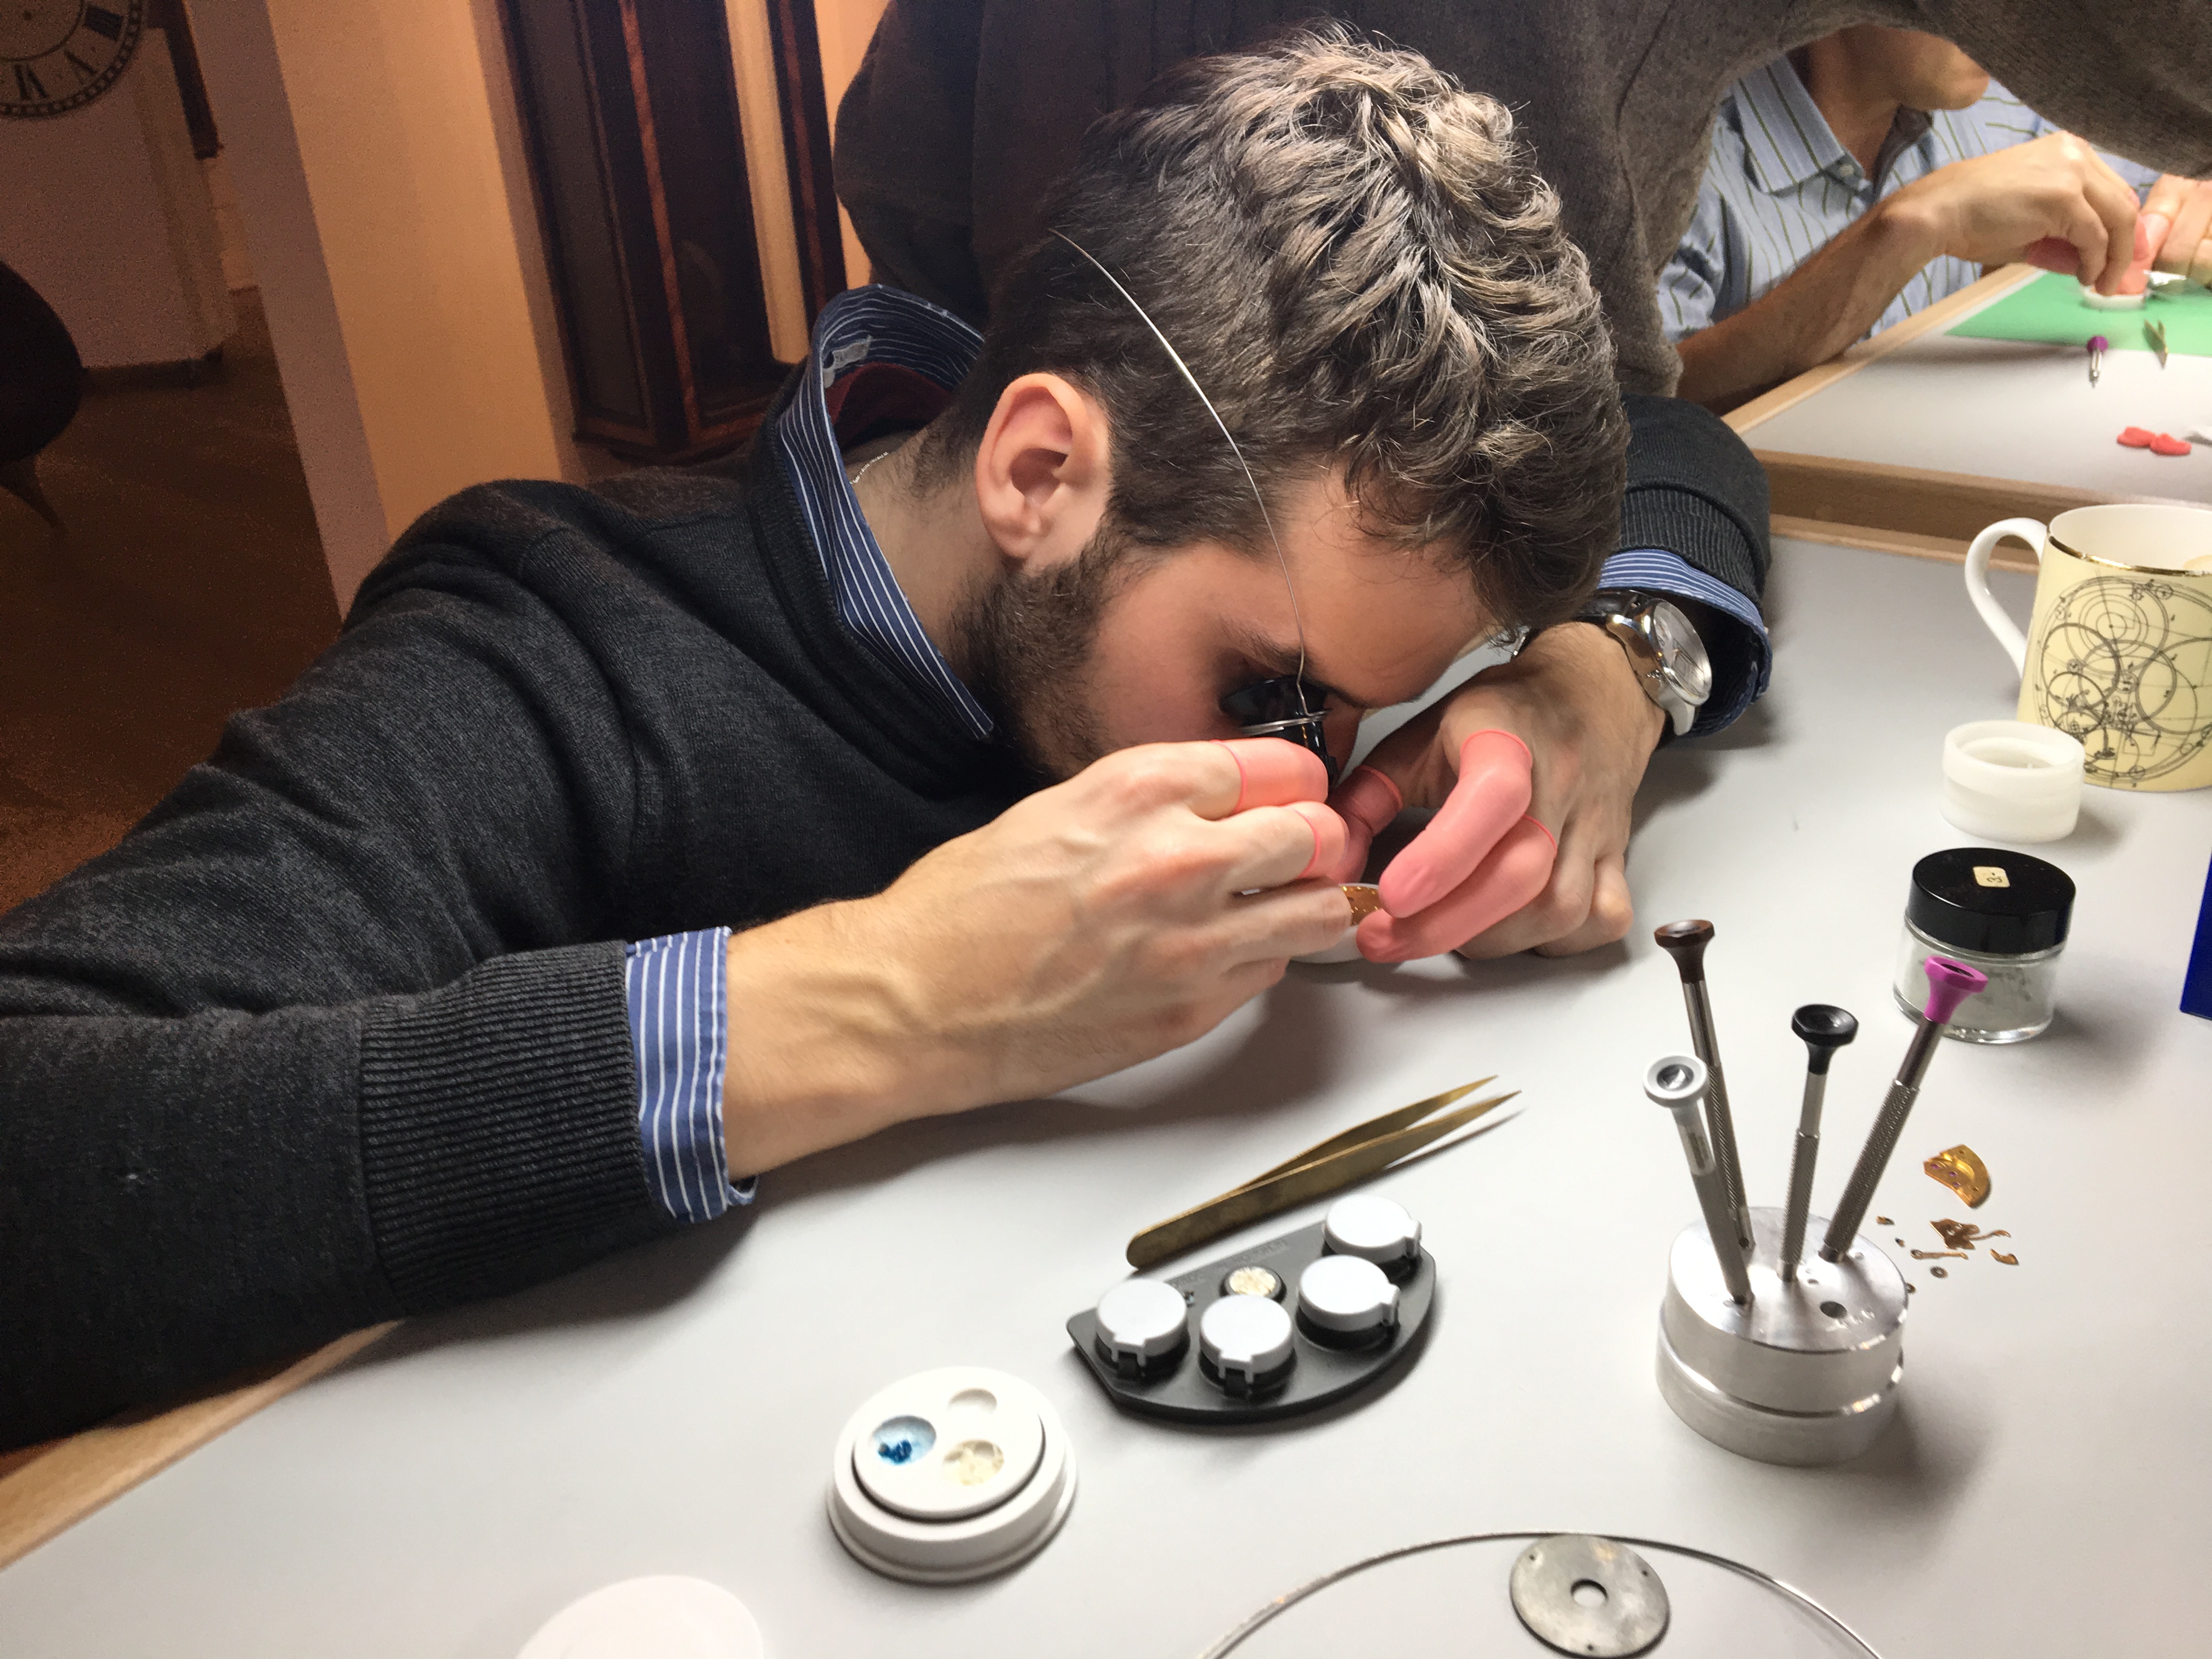
This past weekend, I had the pleasure of being invited to take part in a two-day workshop given by the International Watch Seminar. It was a weekend full of small parts, carefully operated tweezers, and a couple of flying springs. I walked away with a watch that I could call my own, as well as a new understanding of what goes into watchmaking.
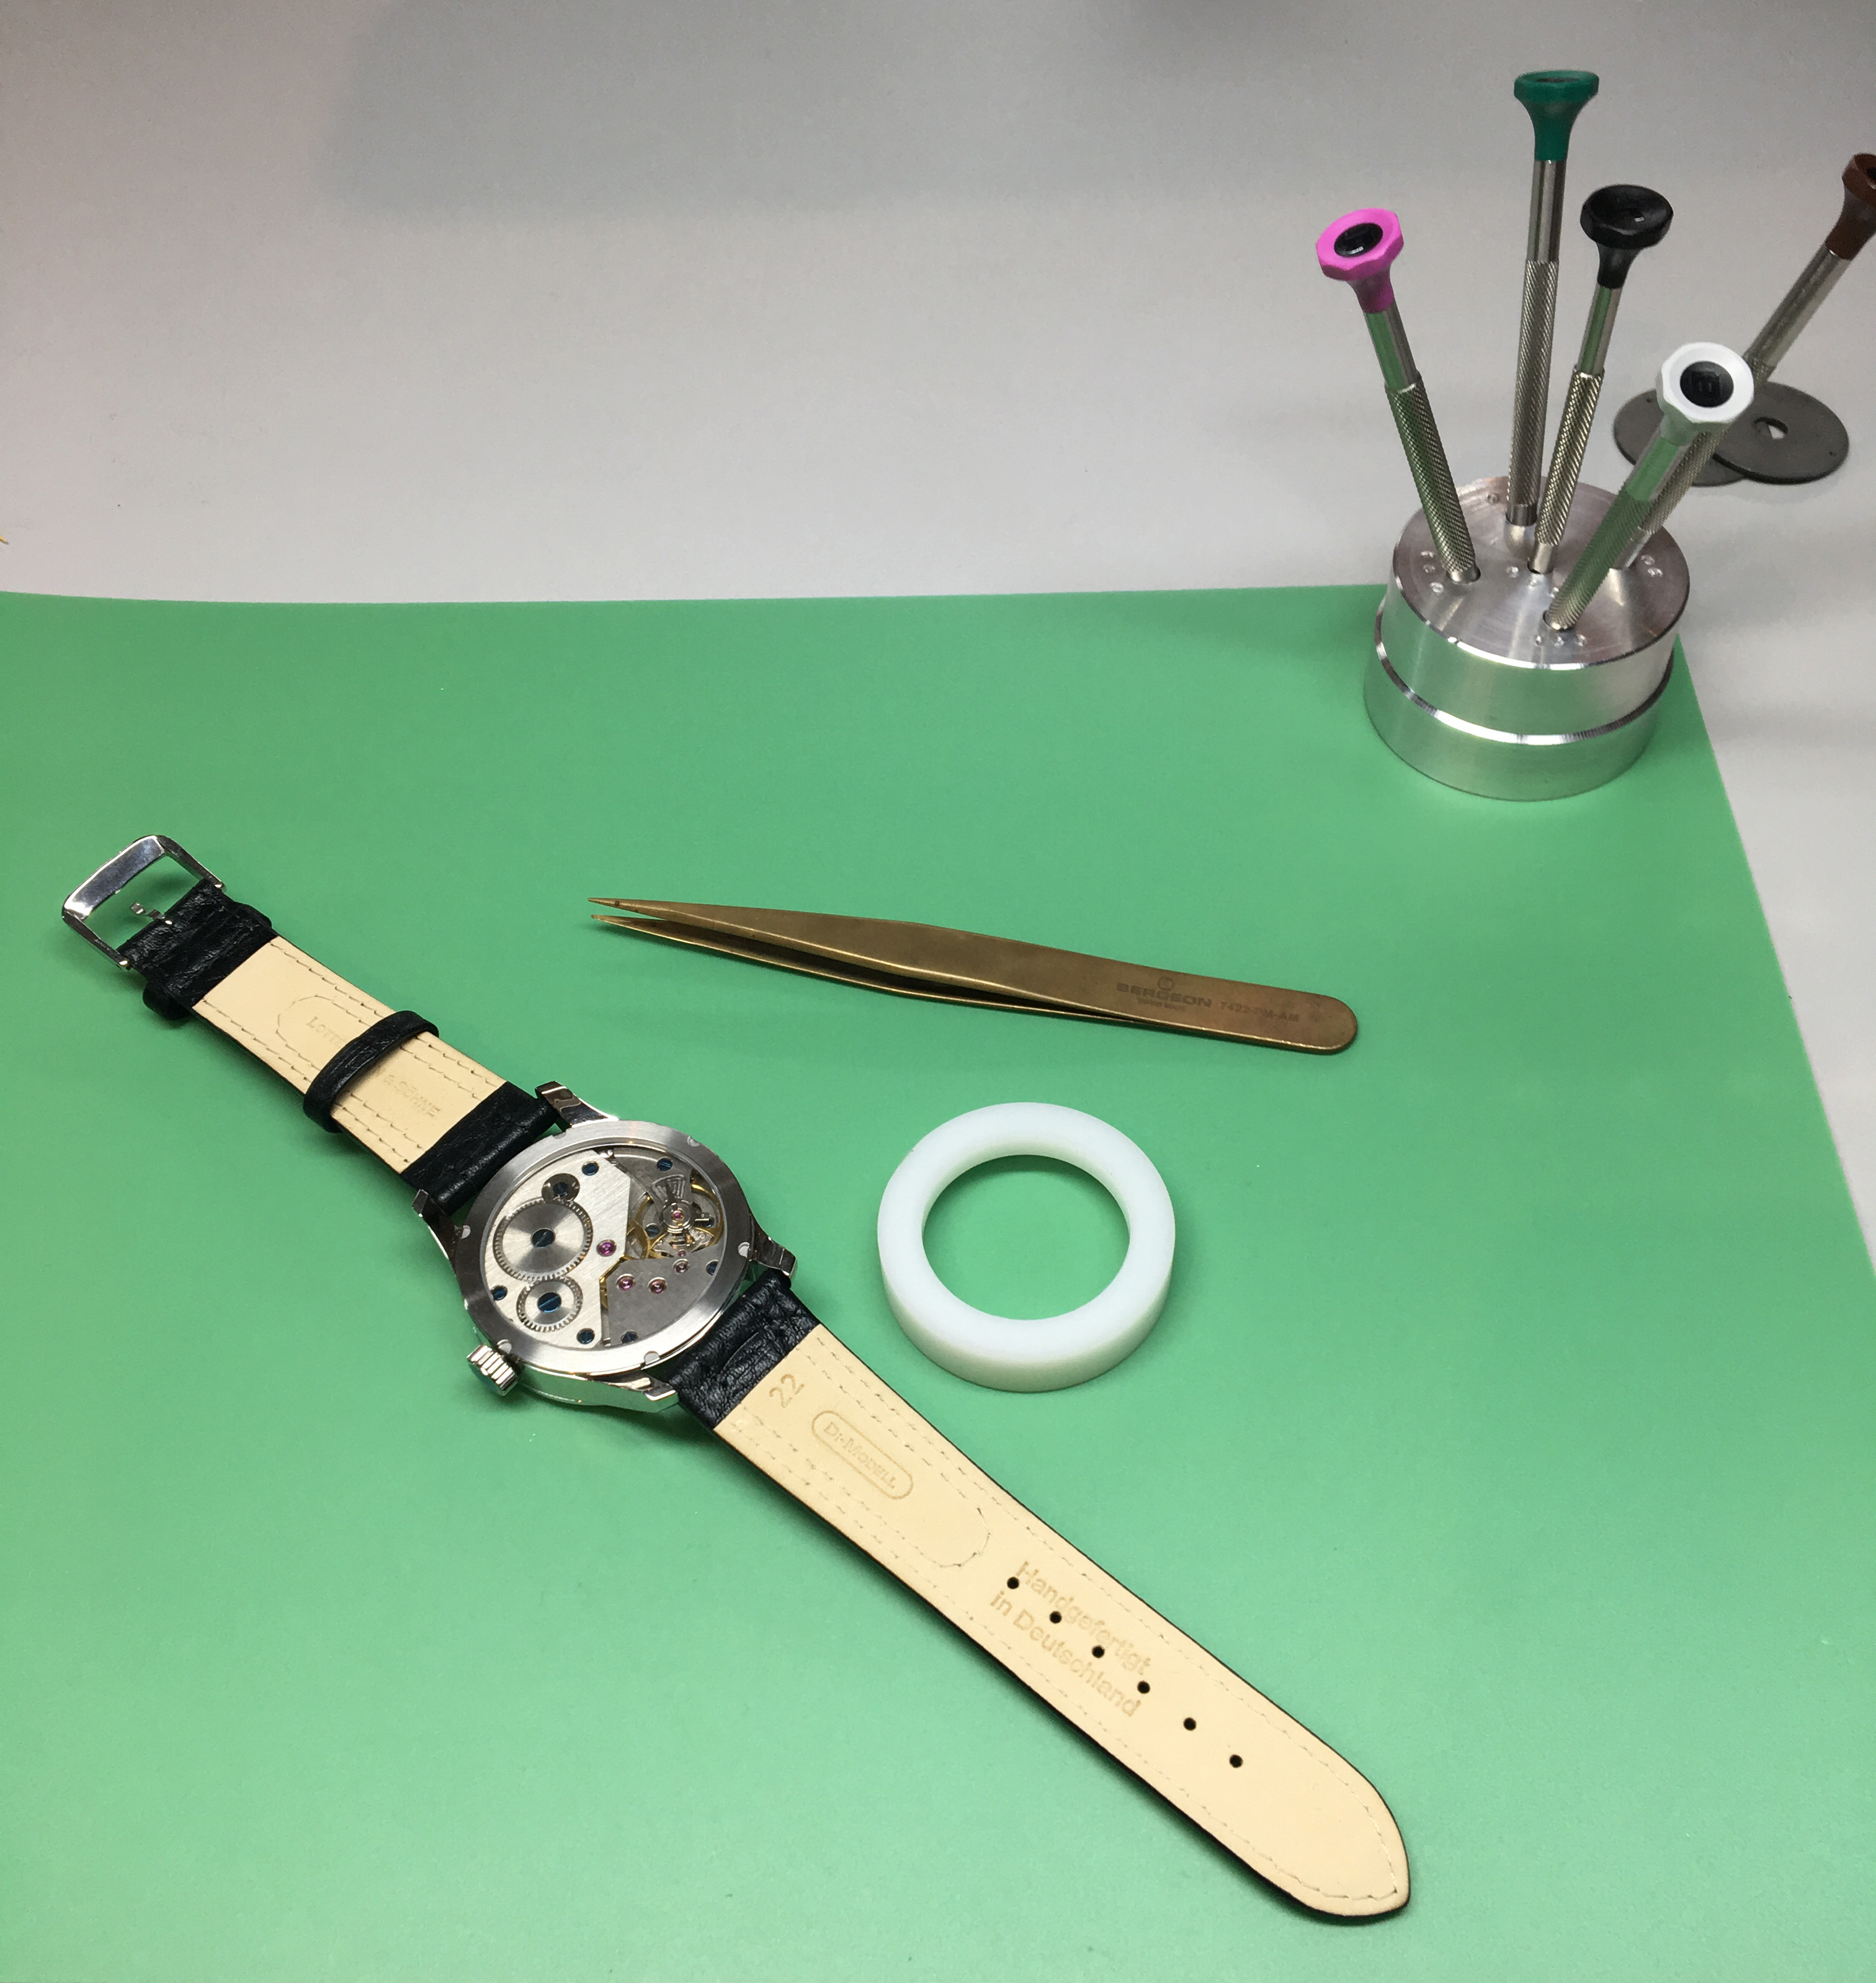

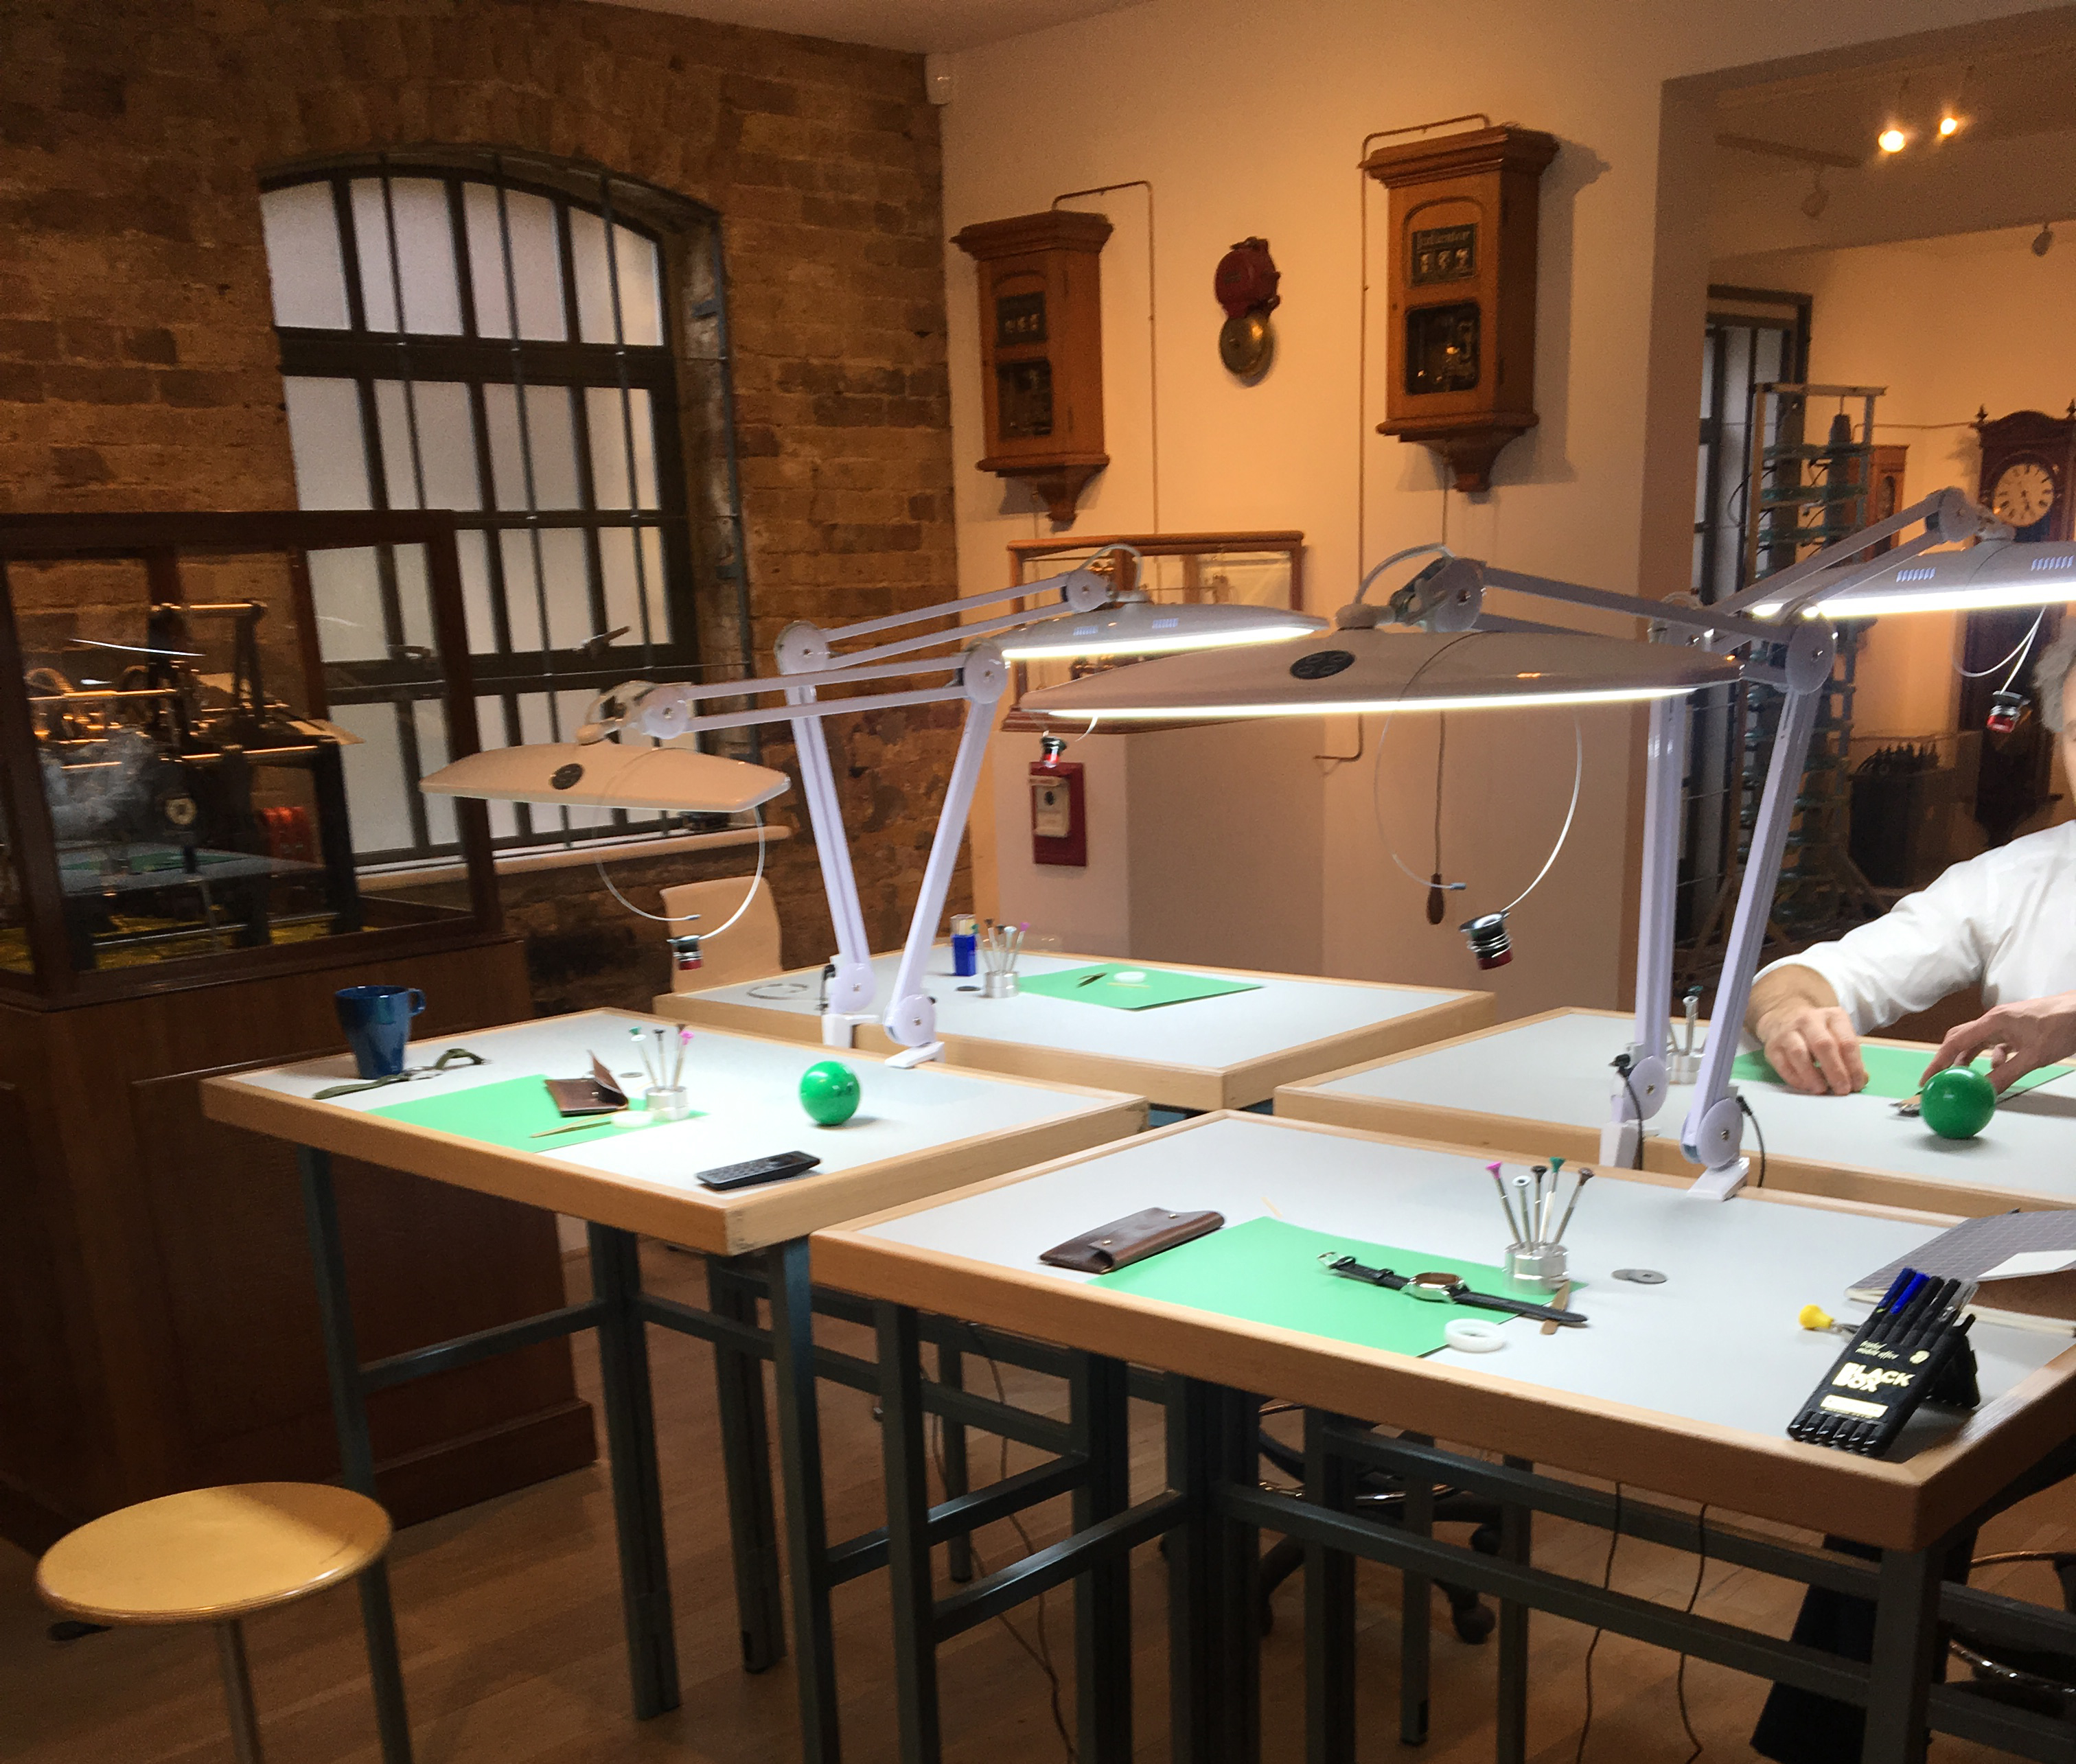
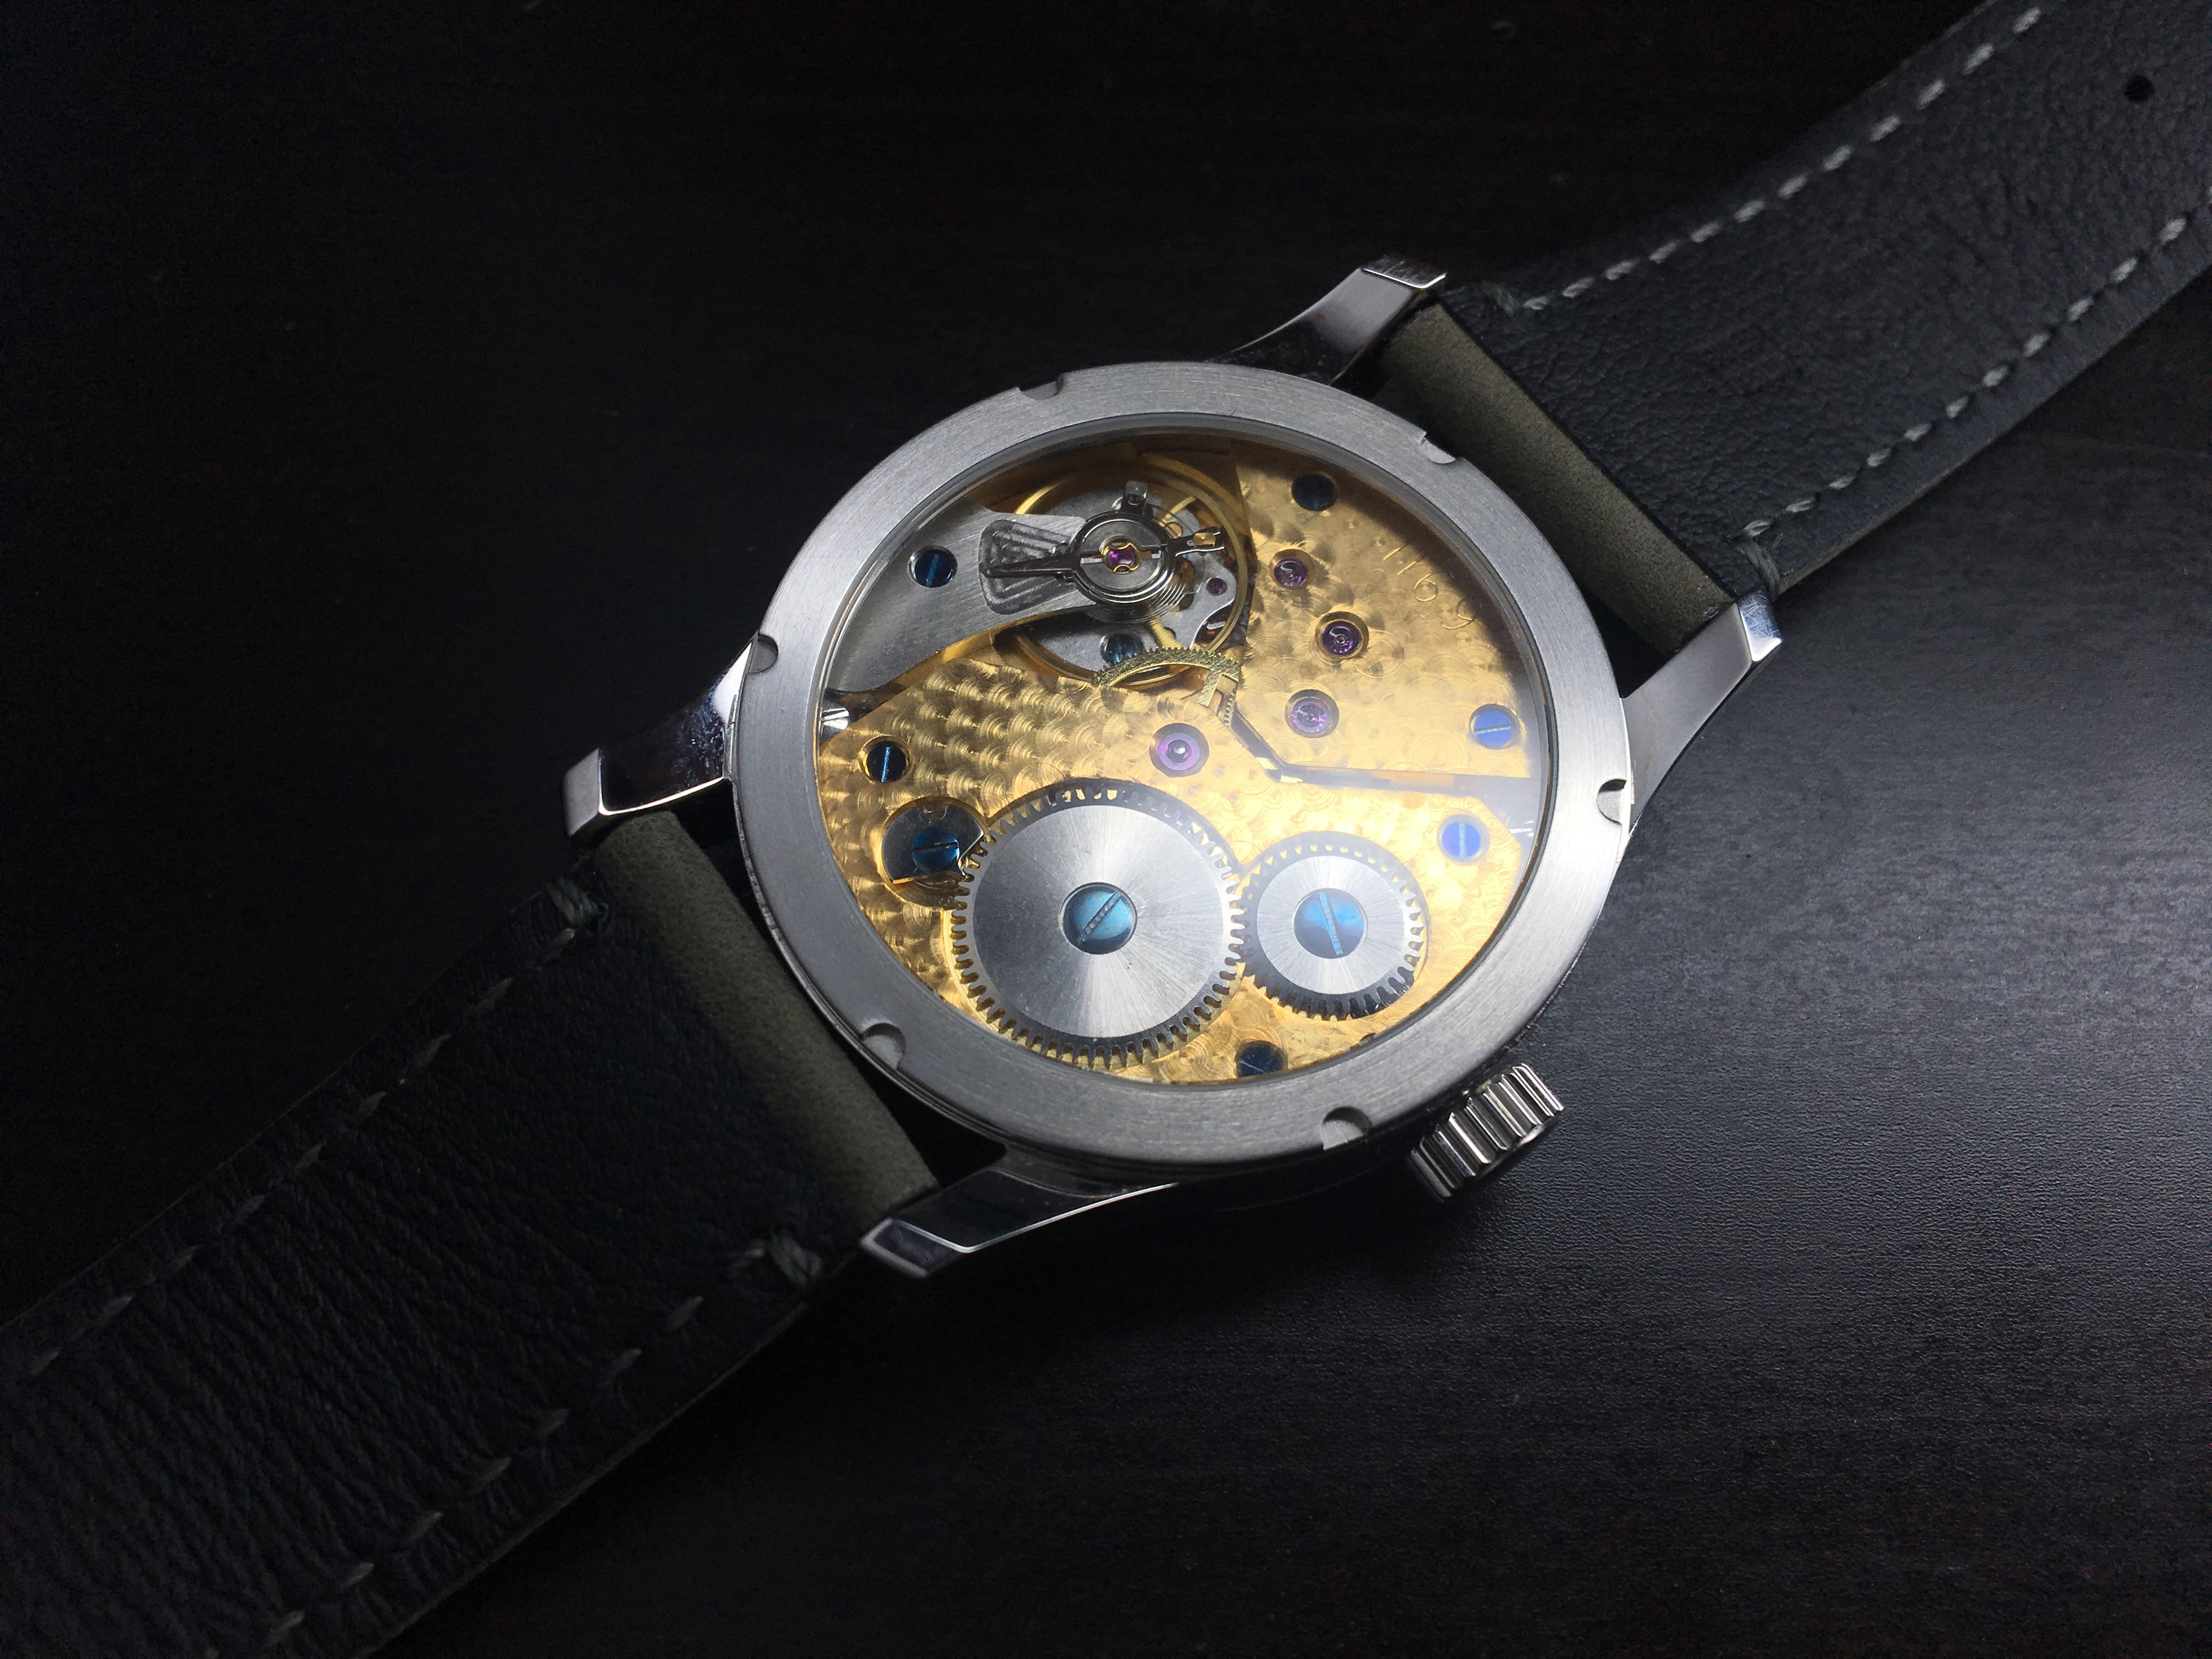
The workshop is set up in The Clockworks museum in South London, the space can accommodate up to four participants with three instructors. Our day started with an explanation of how basic mechanical watches work. Soon enough though we were shown to our desks and given what would become our watches in their infant state: a factory fresh movement with a blank dial in a simple steel case. The movement we used is the ETA 6498 which has mechanical winding, sub-seconds at 6, and a fairly large diameter which makes it perfect for beginners.
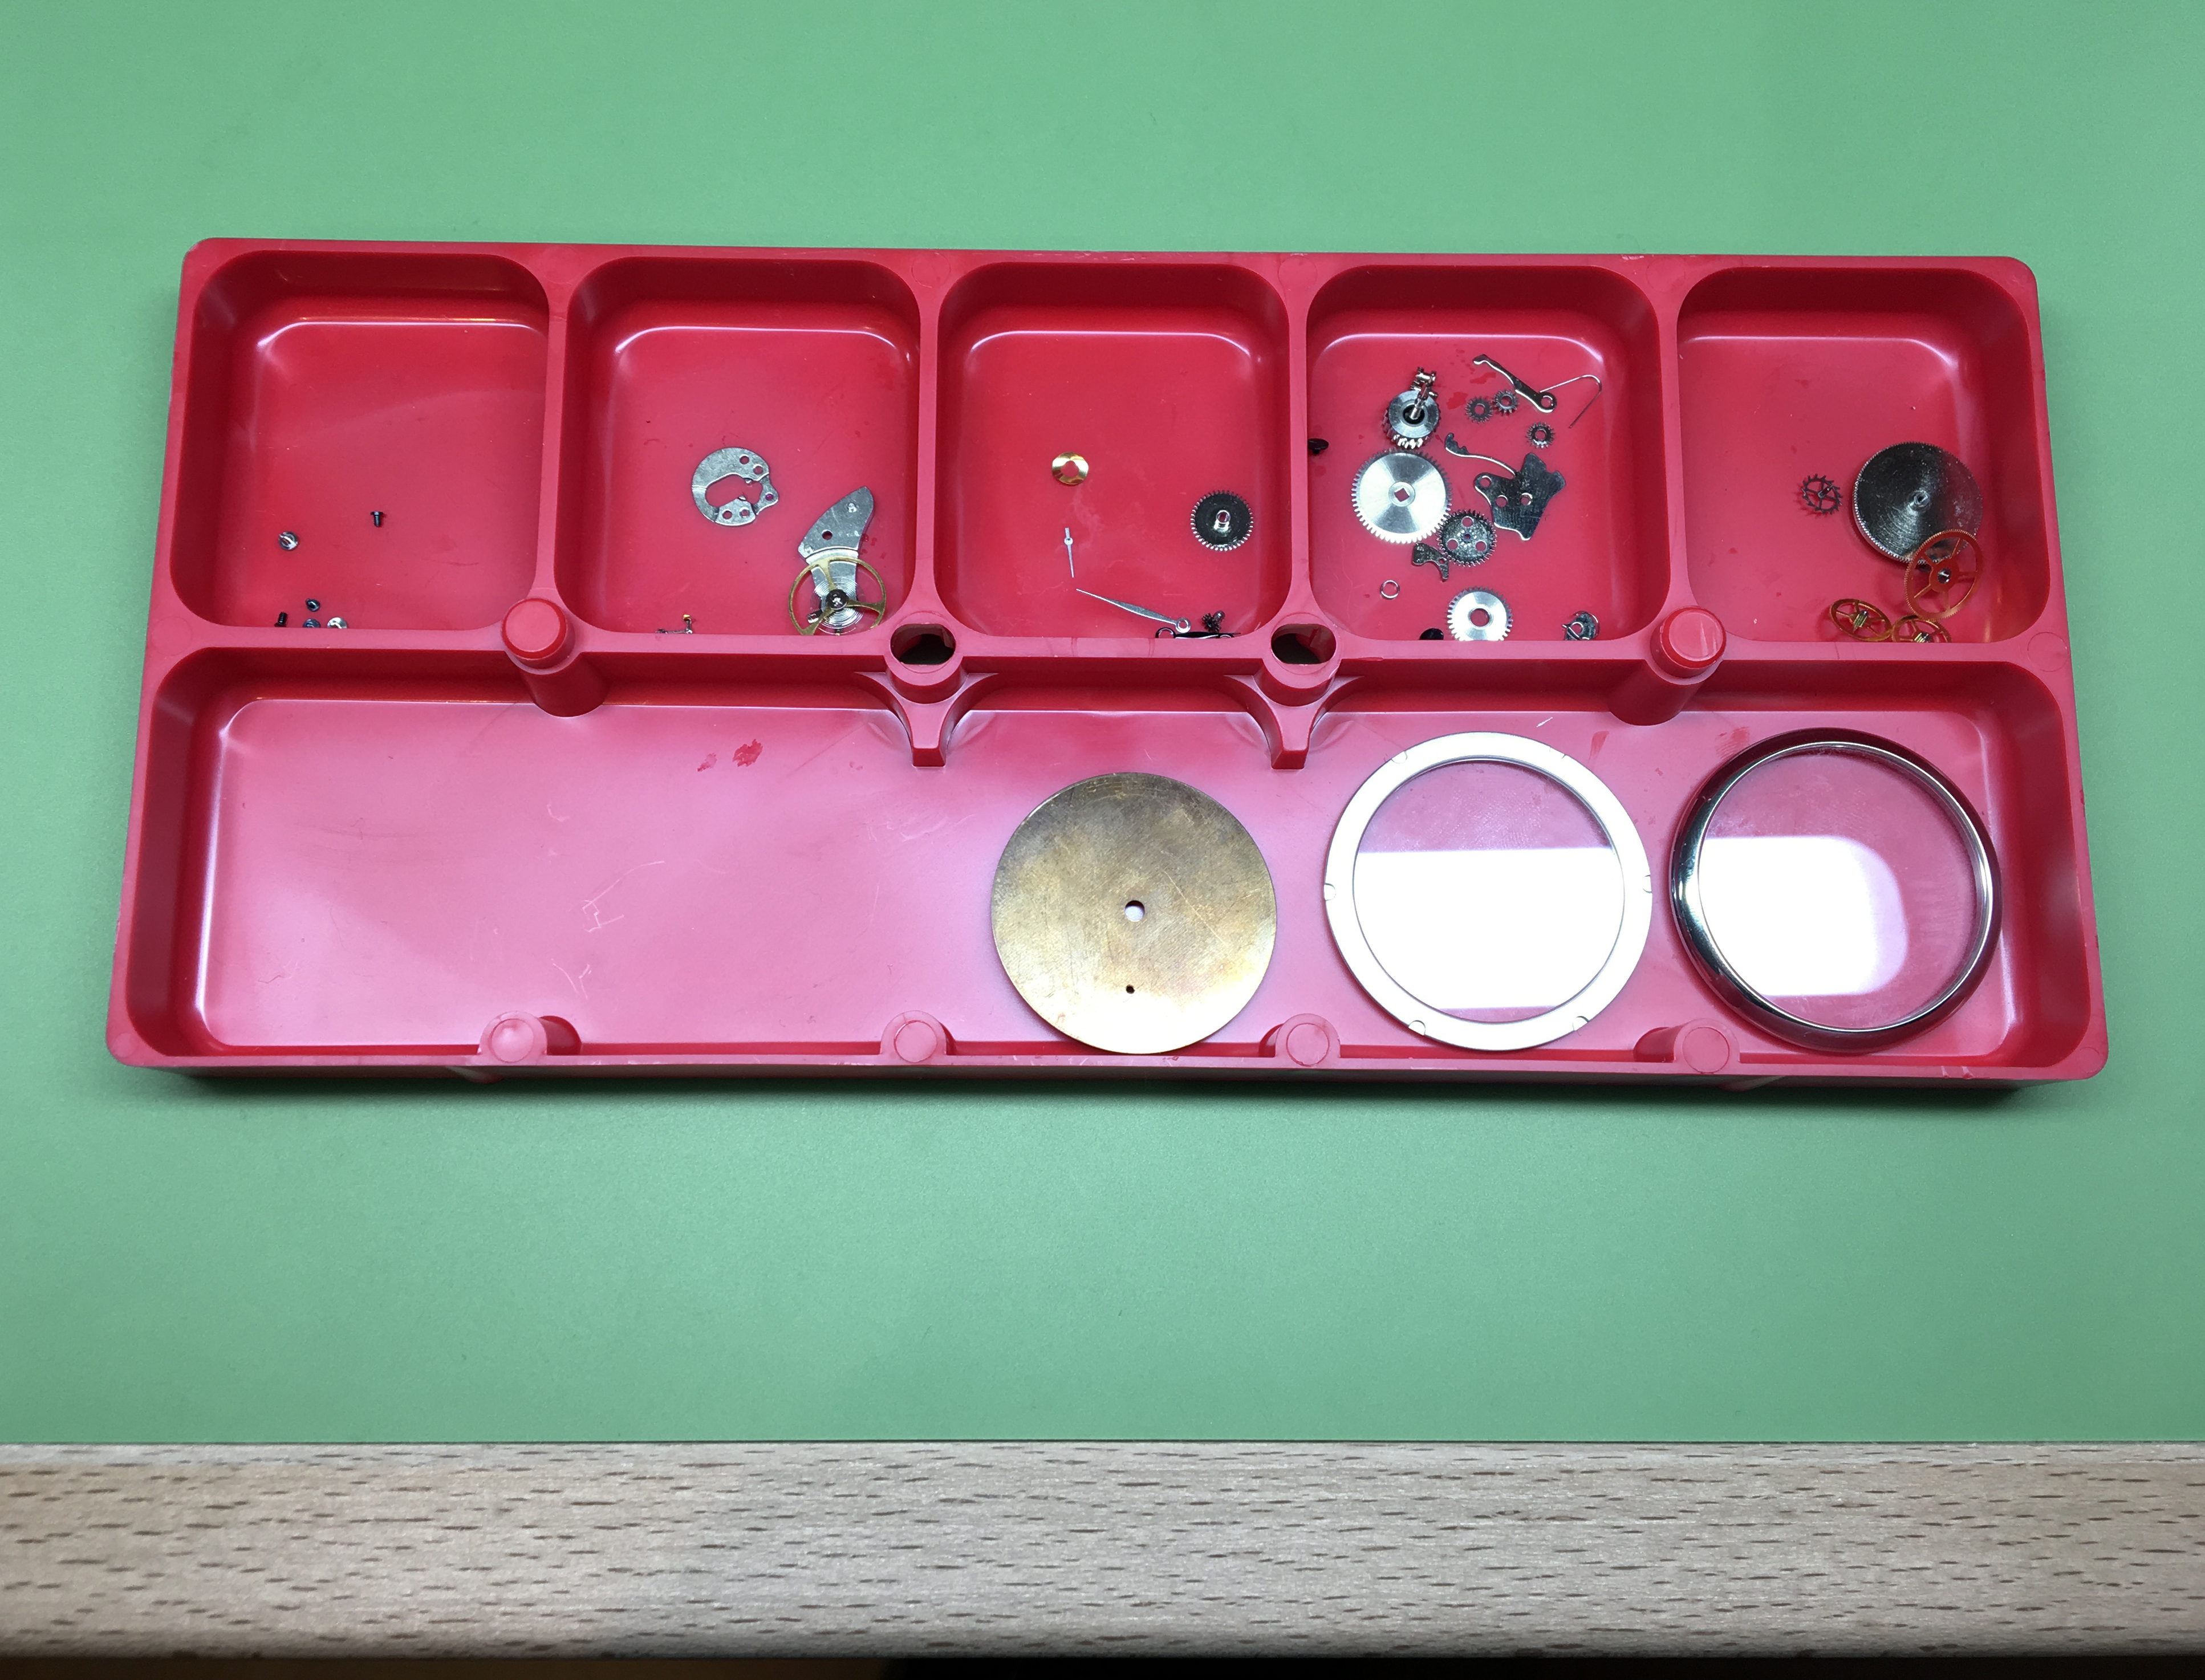
Once we removed the front and rear bezels as well as the crown stem, we could extract the movement from the case and begin disassembling it. First we needed to remove the hands and dial (not the easiest affair, I had an hour hand go flying off as I tried to remove it). Bit by bit we took out screws, plates, wheels, and levers until we had a bare mainplate and a divided box full of individual parts.
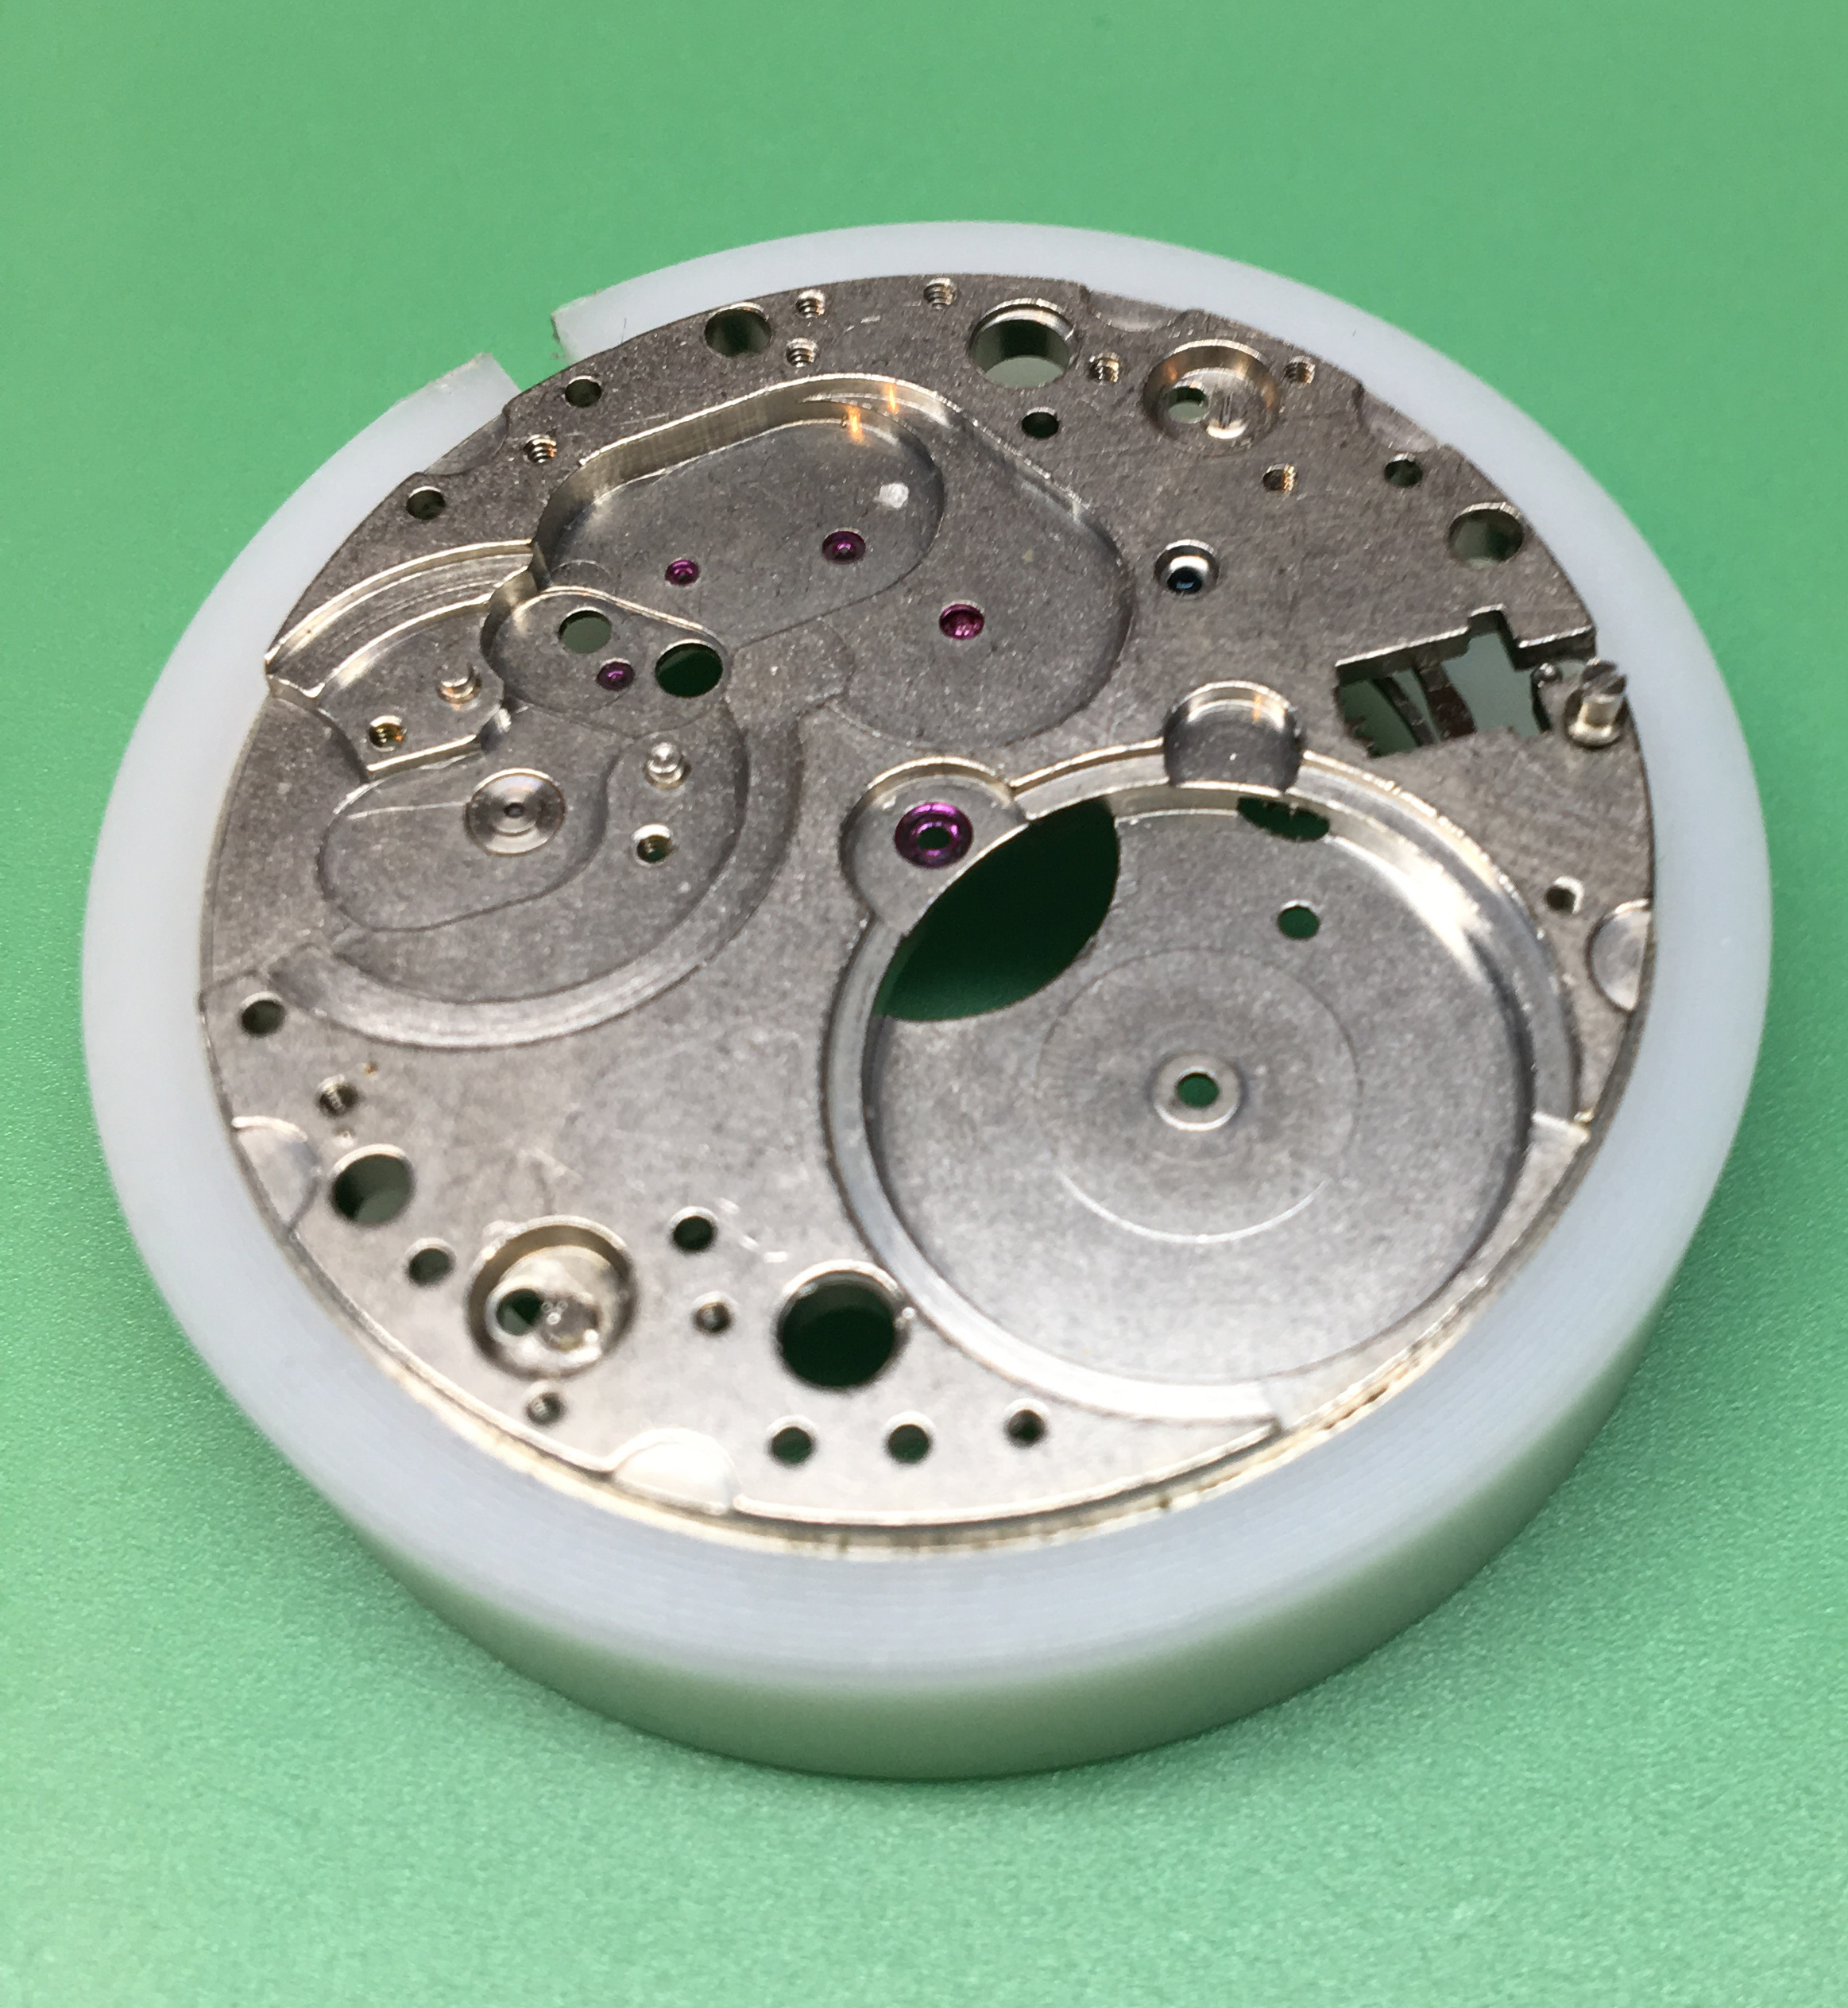
The movement was then reassembled so we could test to see if it still worked (it did!), and then disassembled again so we could begin preparing the top plates for their finishing. Movements that come straight from the factory may work fine, but they can look pretty shabby. We levelled the top plates so that they were at a much tighter height tolerance before cleaning them and applying perlage.
Day 2 began on the pantograph machine where we were able to engrave serial numbers on each of our movements. While it definitely takes some getting used to in terms of how to move your hands and where to apply pressure, I immensely enjoyed using a machine that has been shared by both the type and horological industries. Once the movements were engraved, the main and top plates were gilded through electroplating.

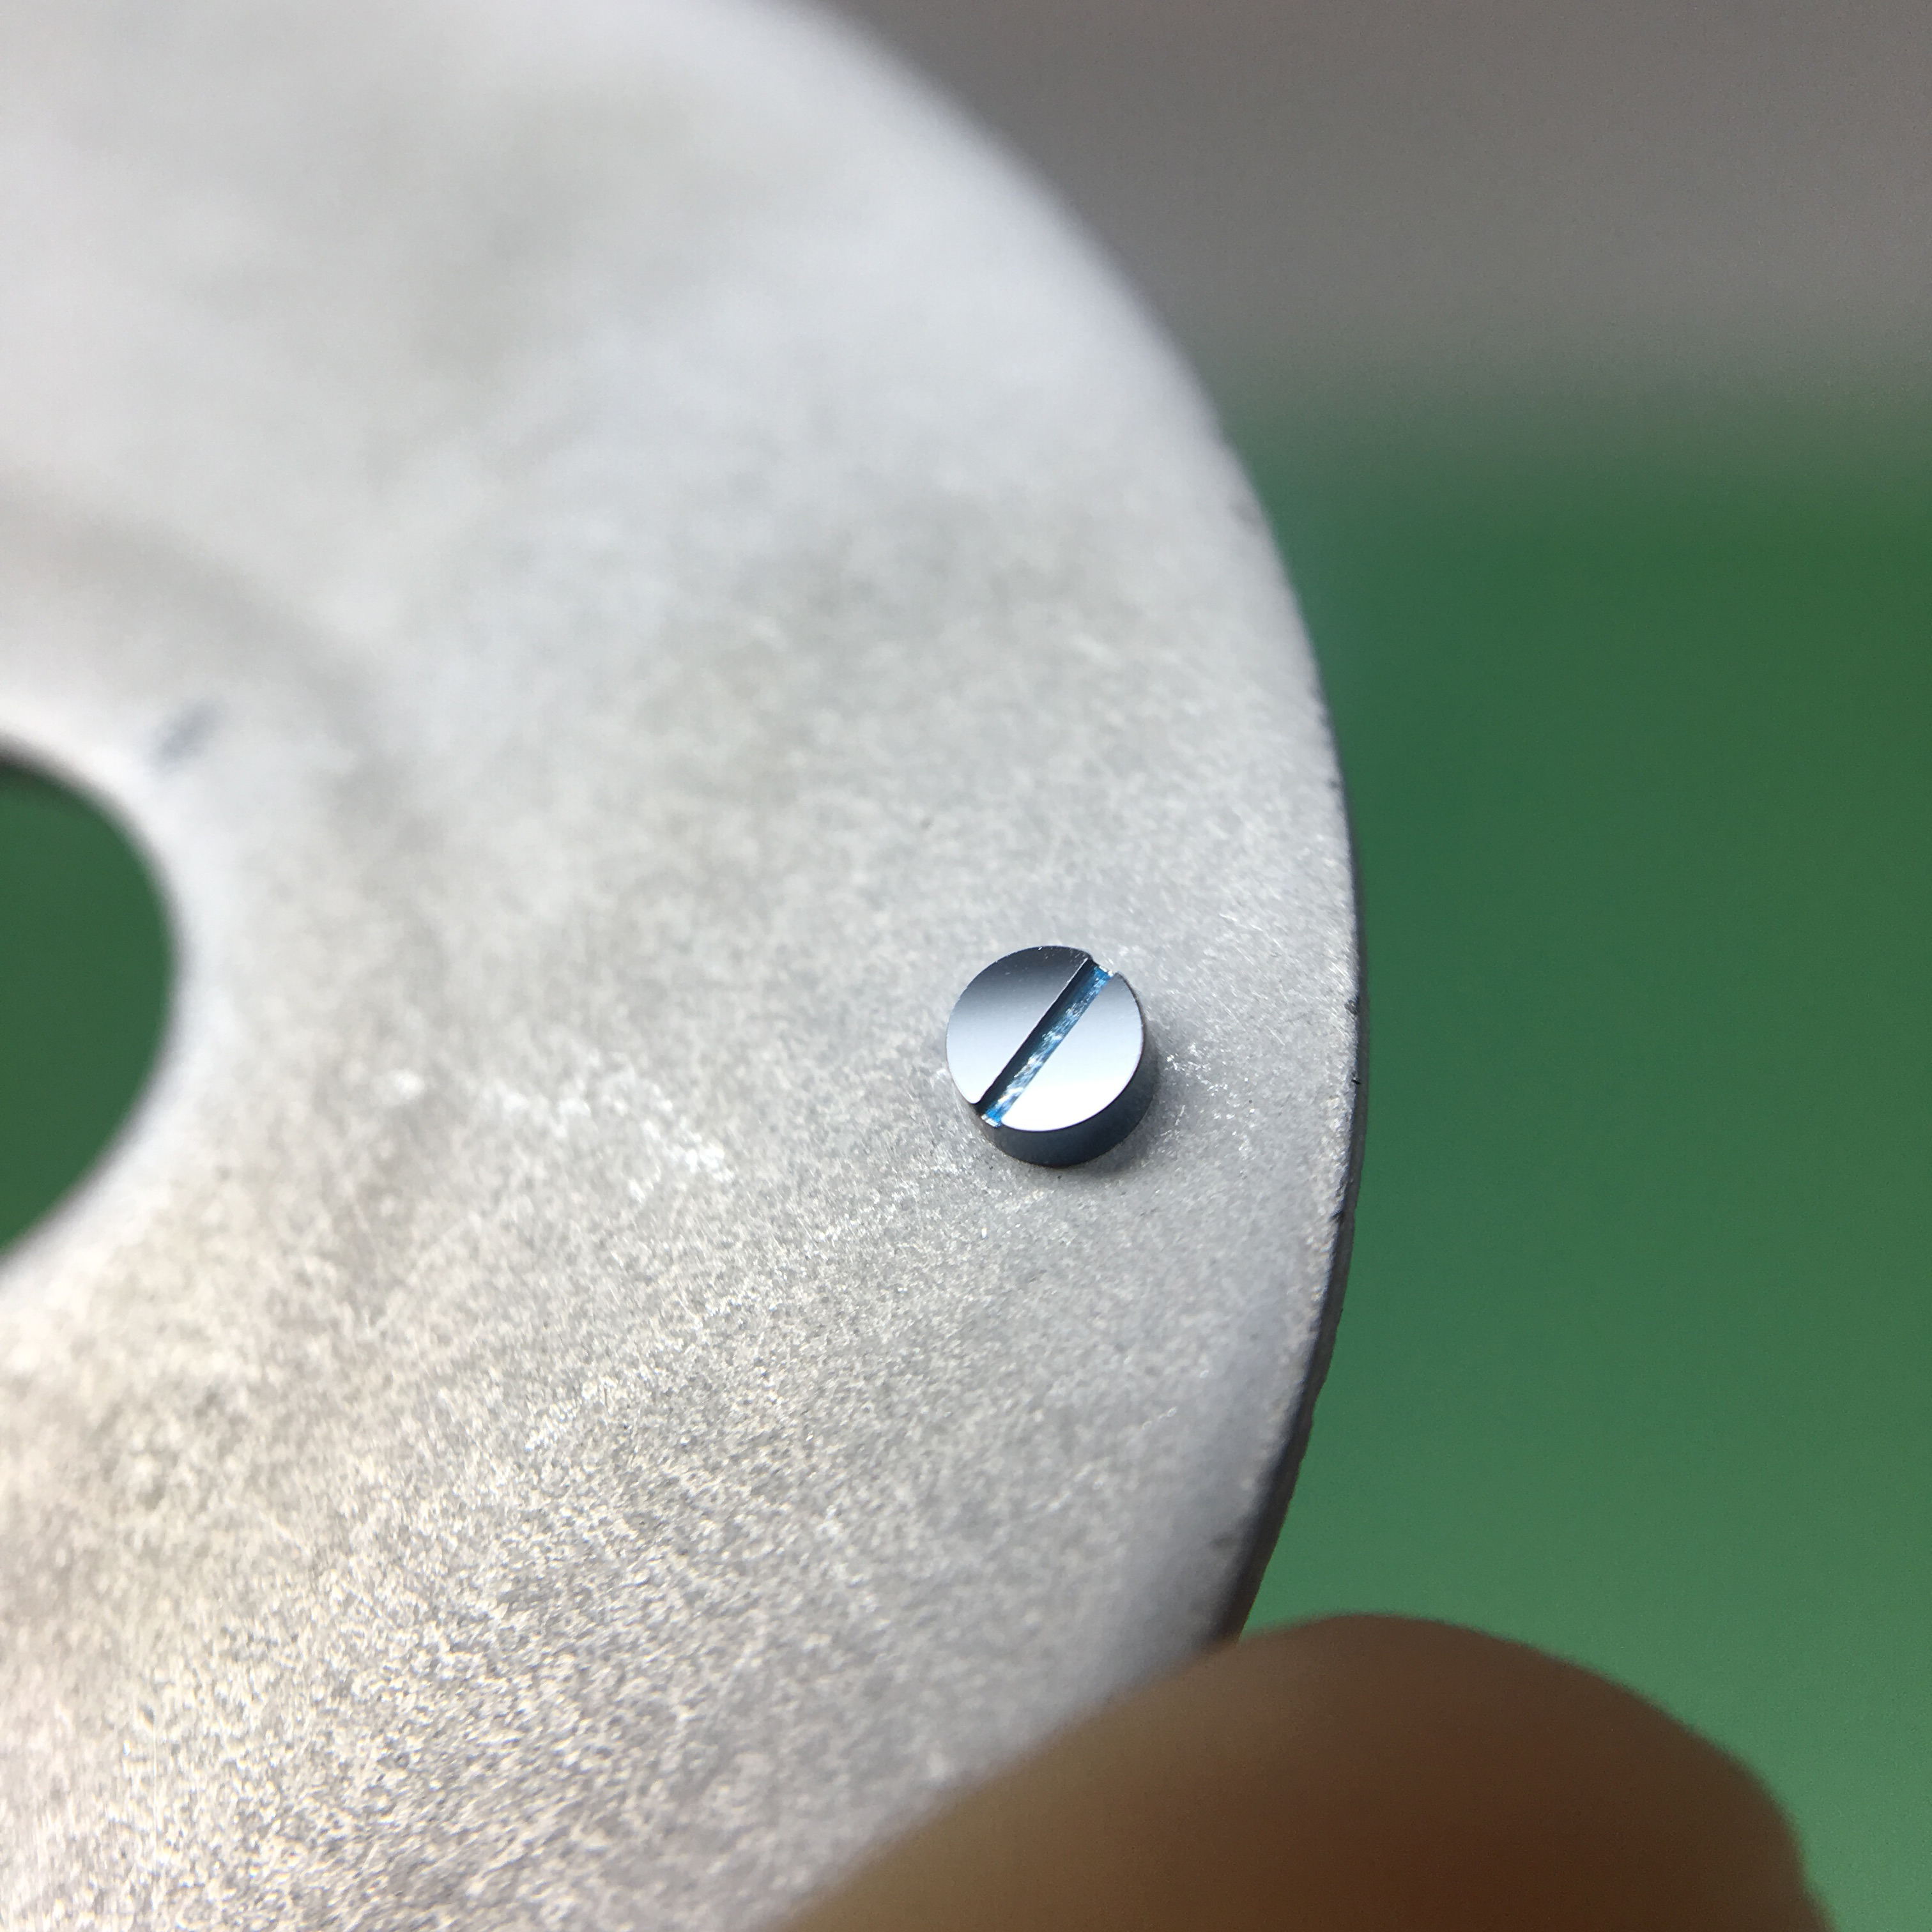

Note that the we did not polish the slots, only the top surface of the screw head.
The last bit of finishing and decoration work was to black polish the top plate screw heads and then heat-blue them the old school way over a spirit lamp flame. The heat-bluing is quite a fun process since you can see how the metal changes colour right in front of your eyes.
Once the wheels and levers were cleaned, we started final assembly which began to feel a lot more natural now that we were on our second run-through. The movements were checked and lubricated. Then we were able to regulate them (with some assistance) to improve their accuracy to levels that far exceeded the movements in their factory state.
James Harris, one of the instructors adds lubricants to the movement.
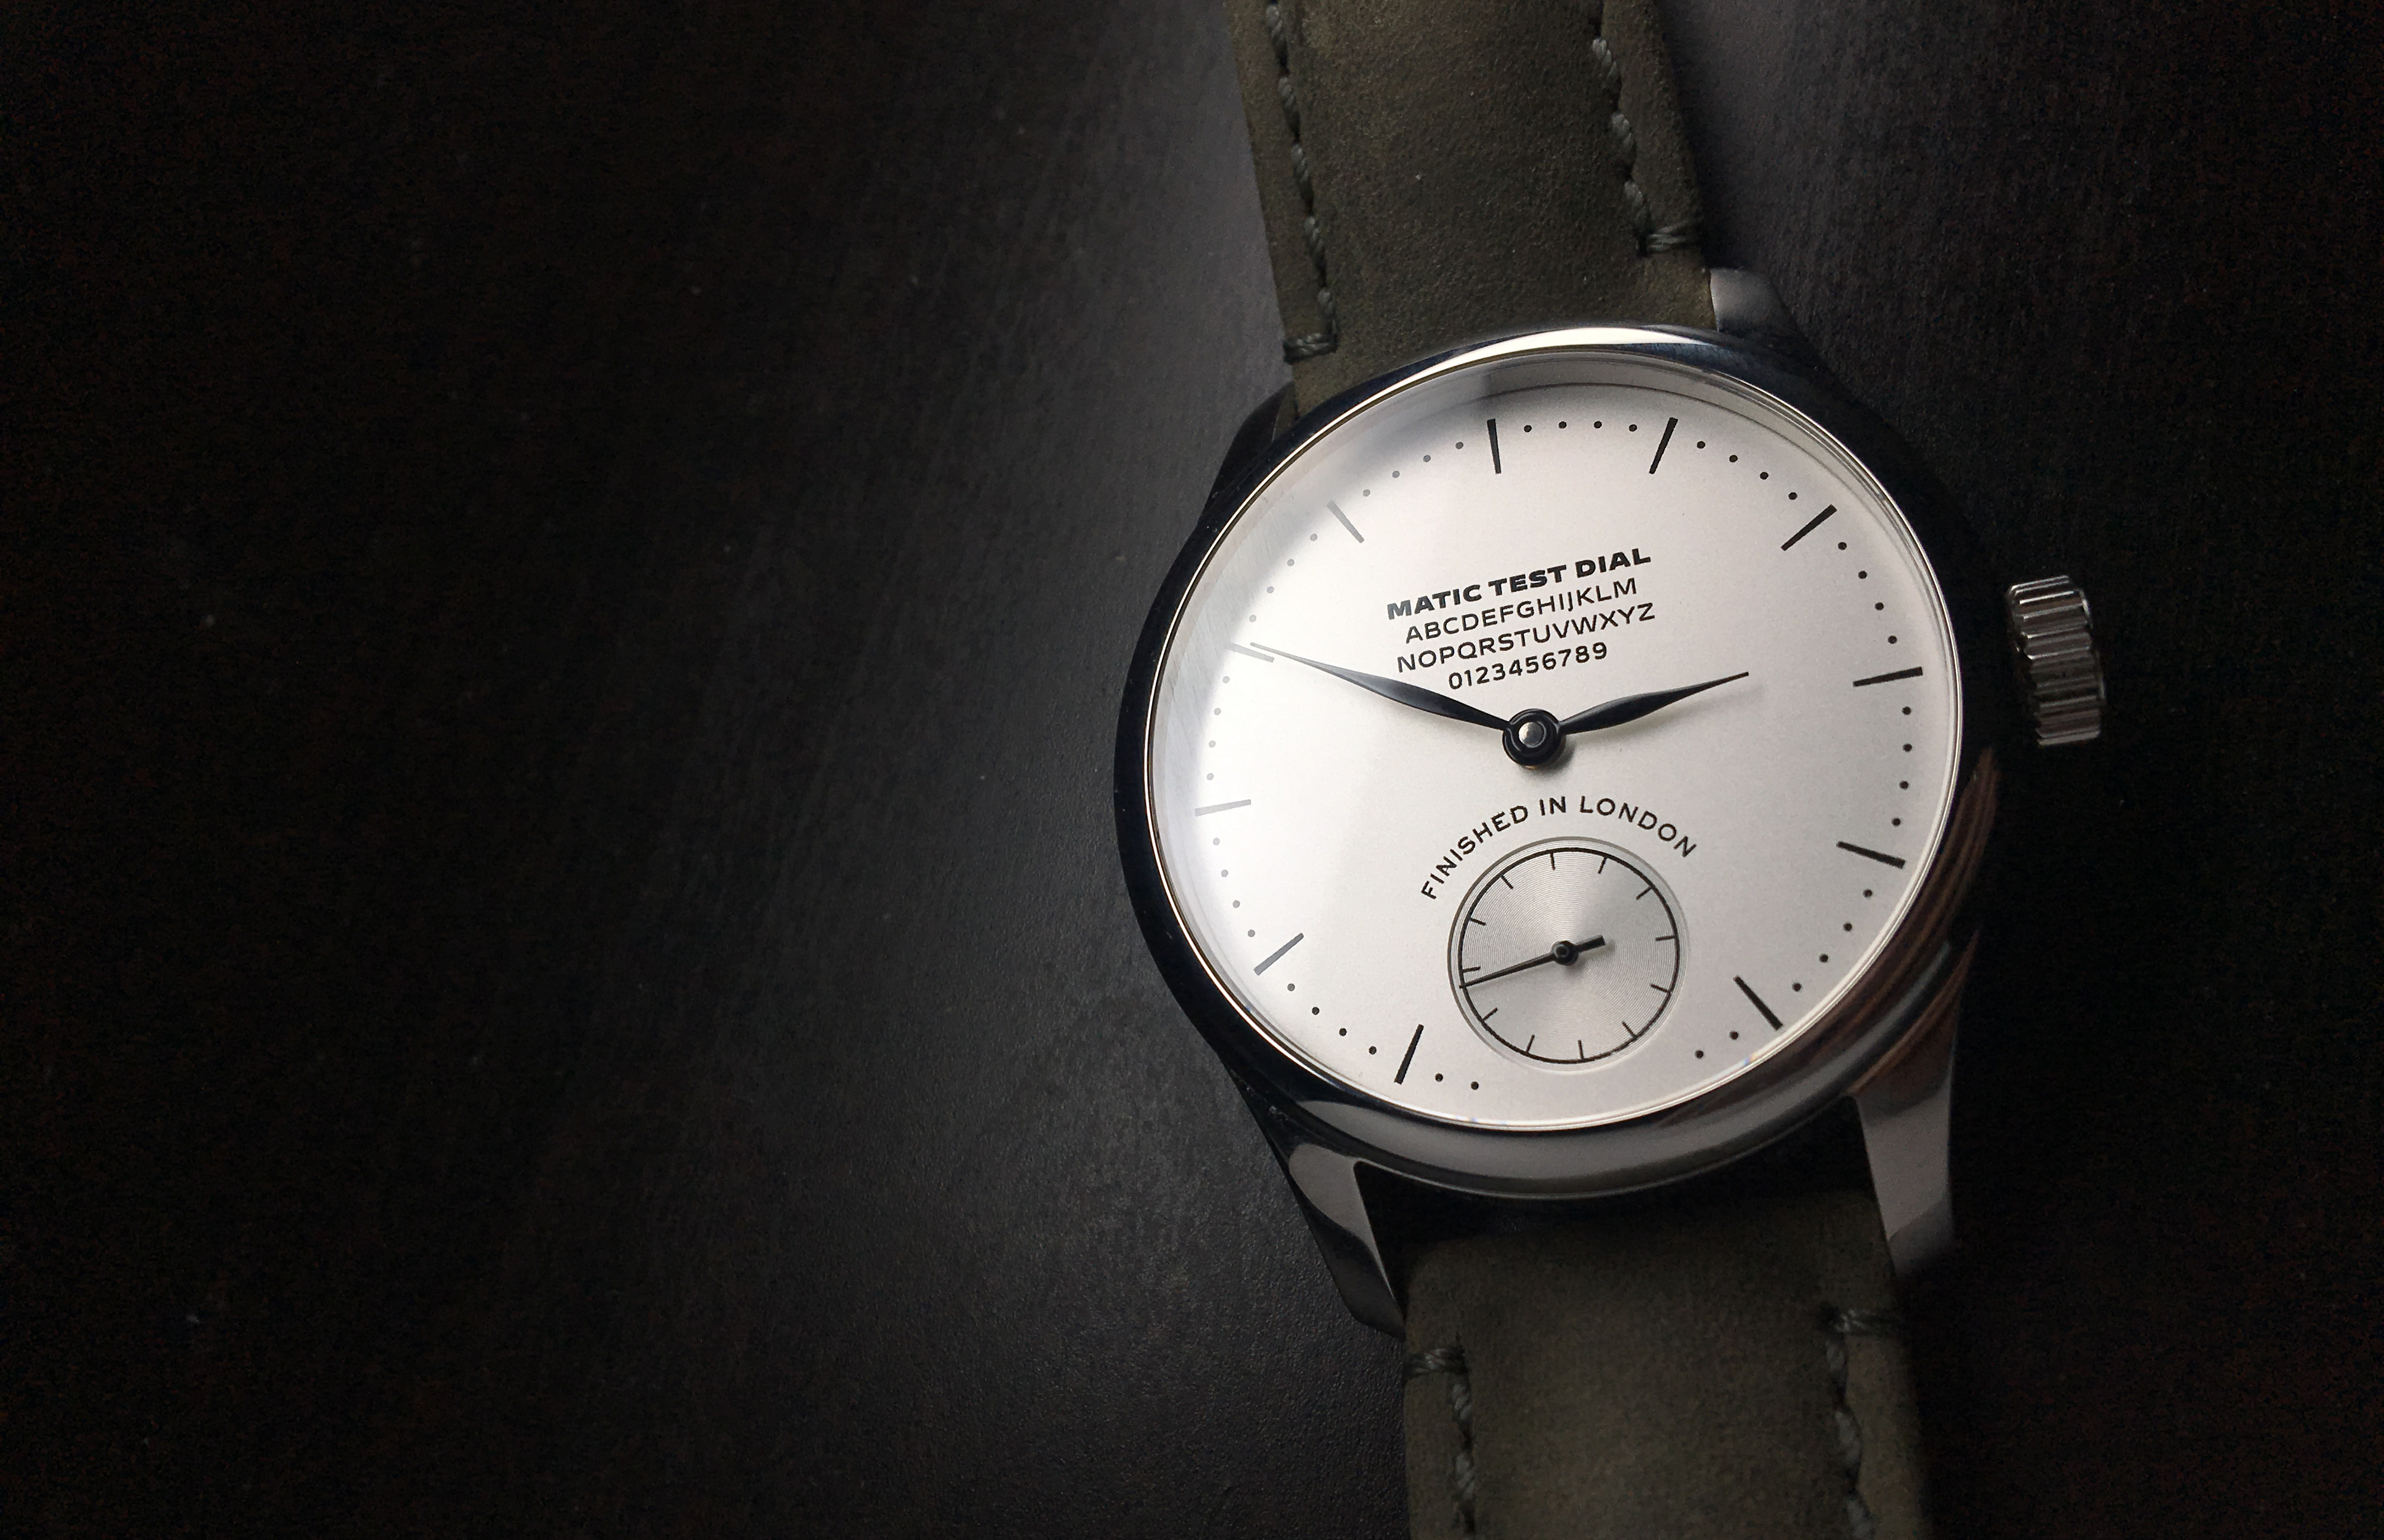
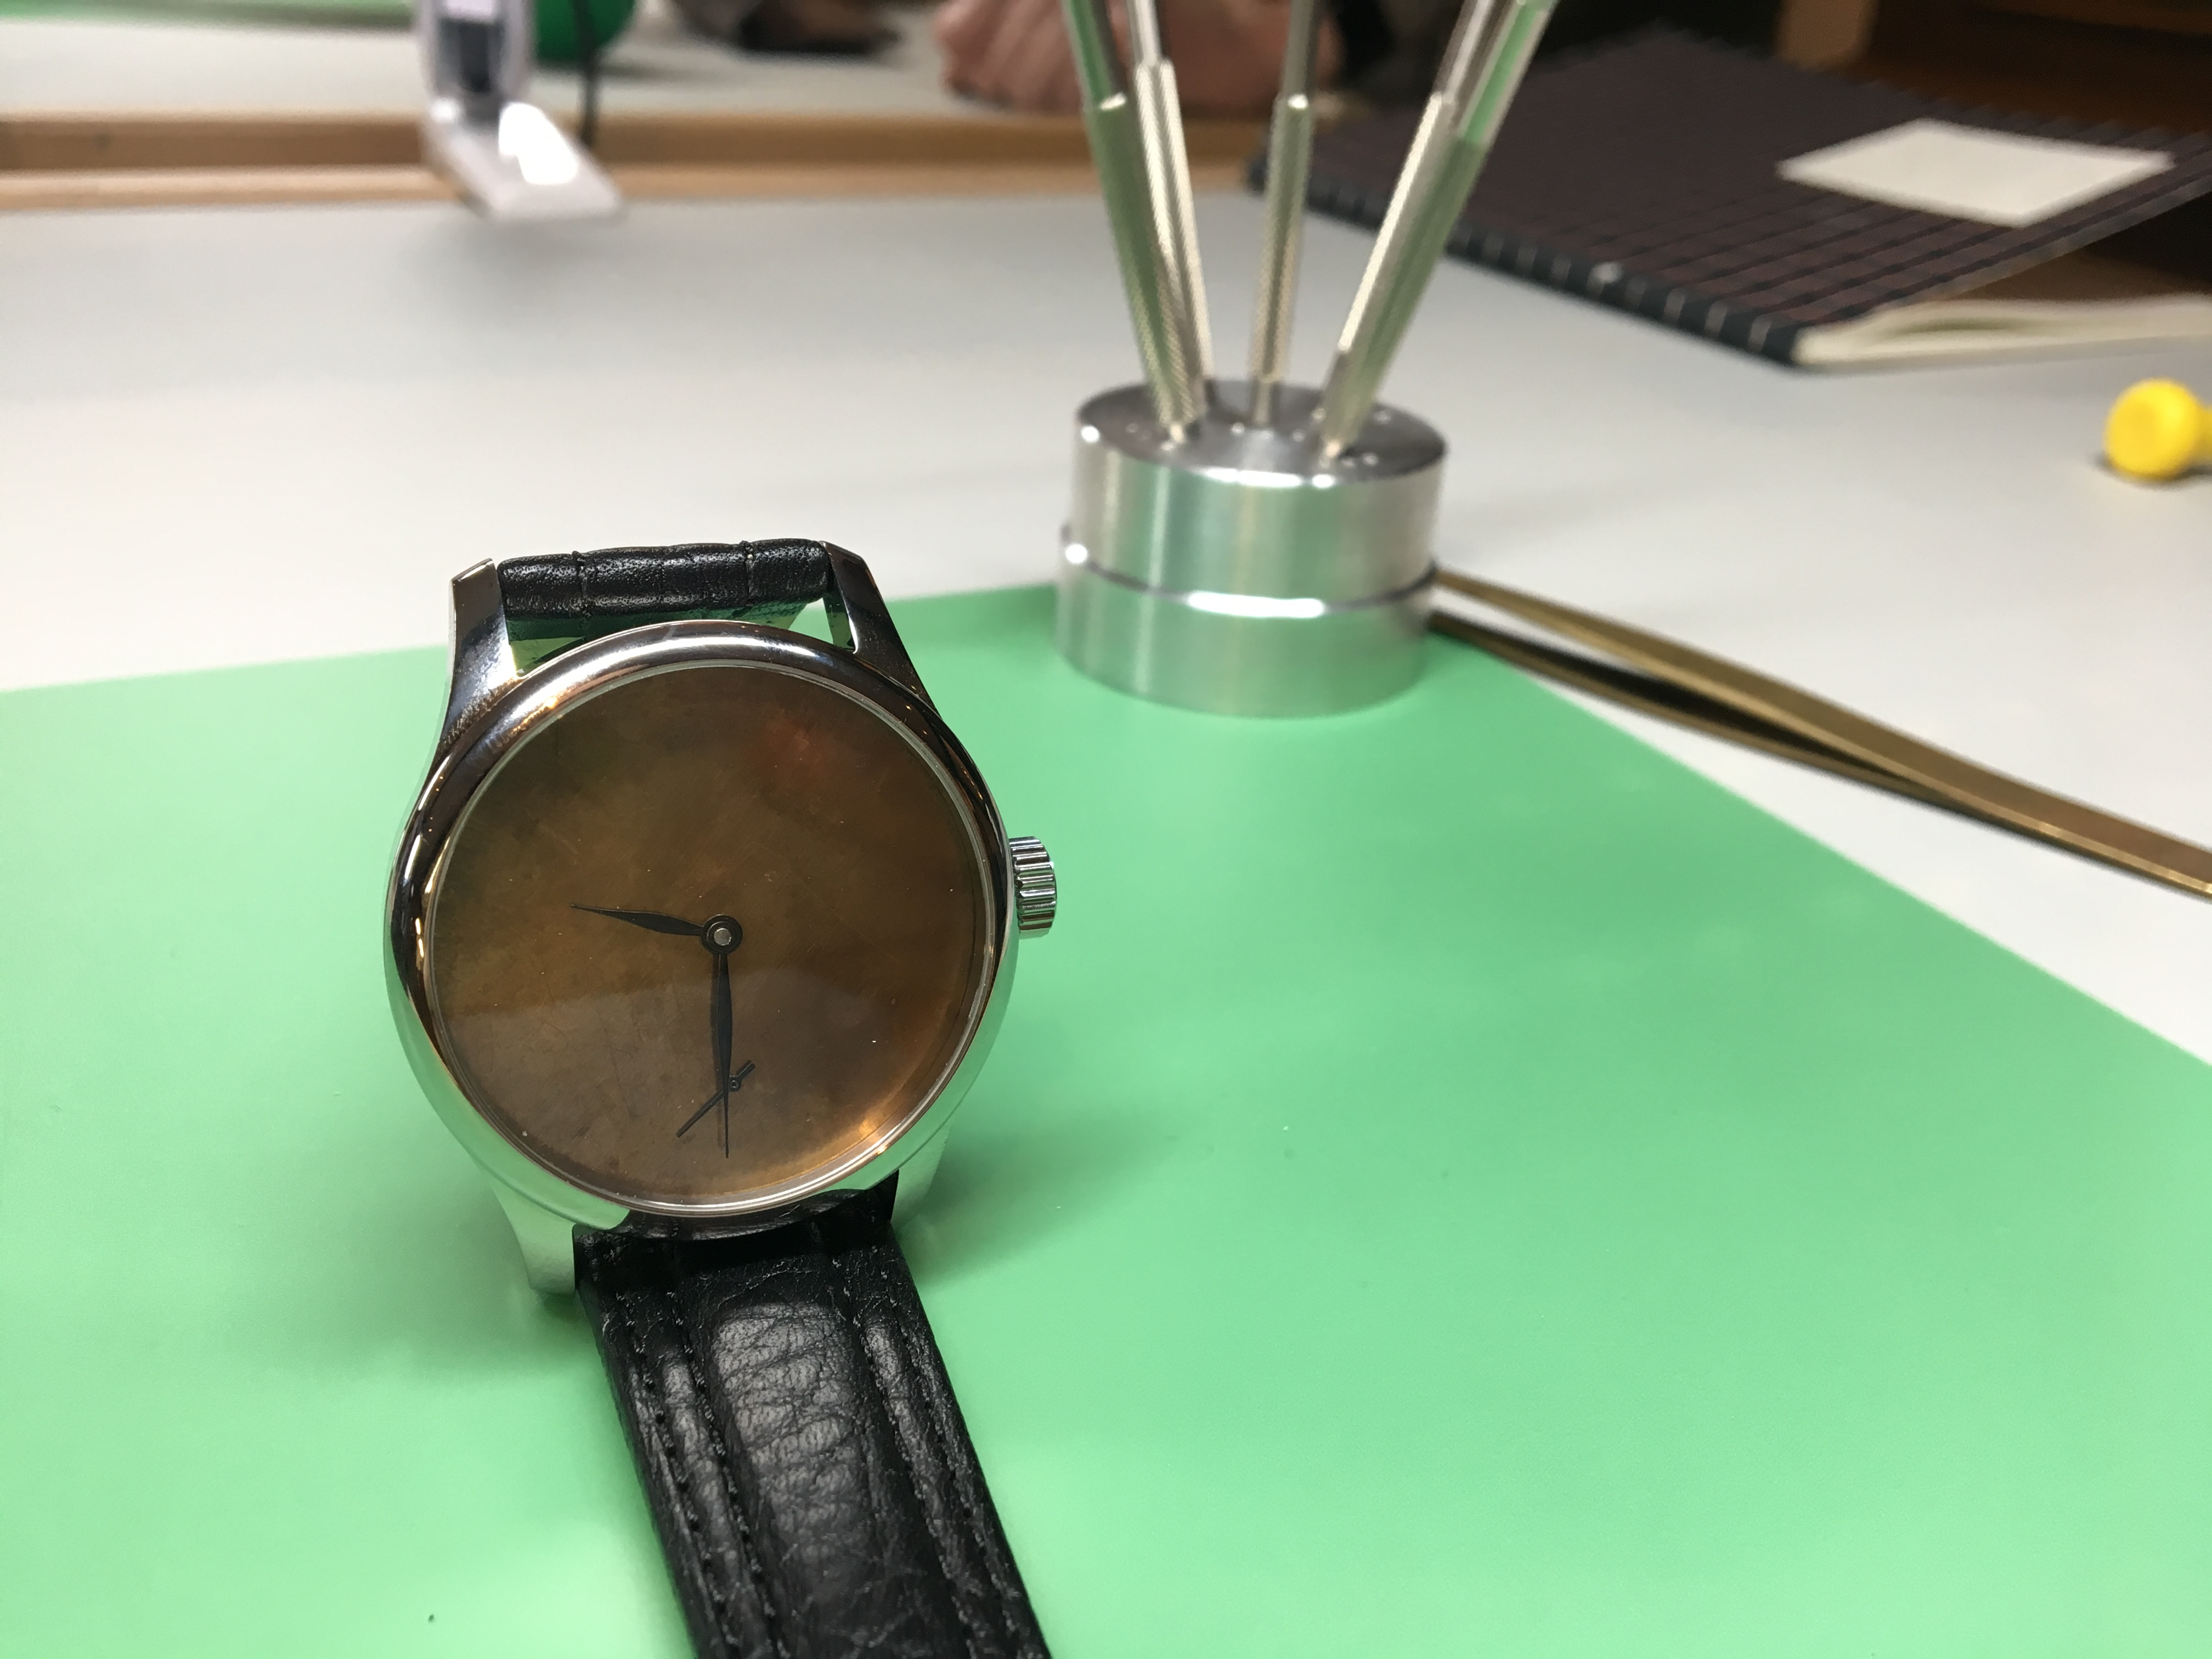
Now that we had working movements, it was time to put the dials and hands on, and then finally case them up. One of the perks of the workshop is that you can customise the logo area of the dial. I jumped at this opportunity as it allowed me to see my Matic typeface on a dial, printed using the same method as consumer watches. Most printed dials use pad printing which can be incredibly precise compared to digital printing on paper. Pad printing begins with an image being etched onto a plate called a cliché. The etched hollows of the cliché are filled with ink, which is transferred onto a flexible pad, and then deposited onto a dial. The process of pad printing can be seen here. One downside is that clichés are often laser-engraved and thus not as accessible as a regular paper printer. During my studies I made do with the school printers but I was never able to really see my typeface appear in situ.
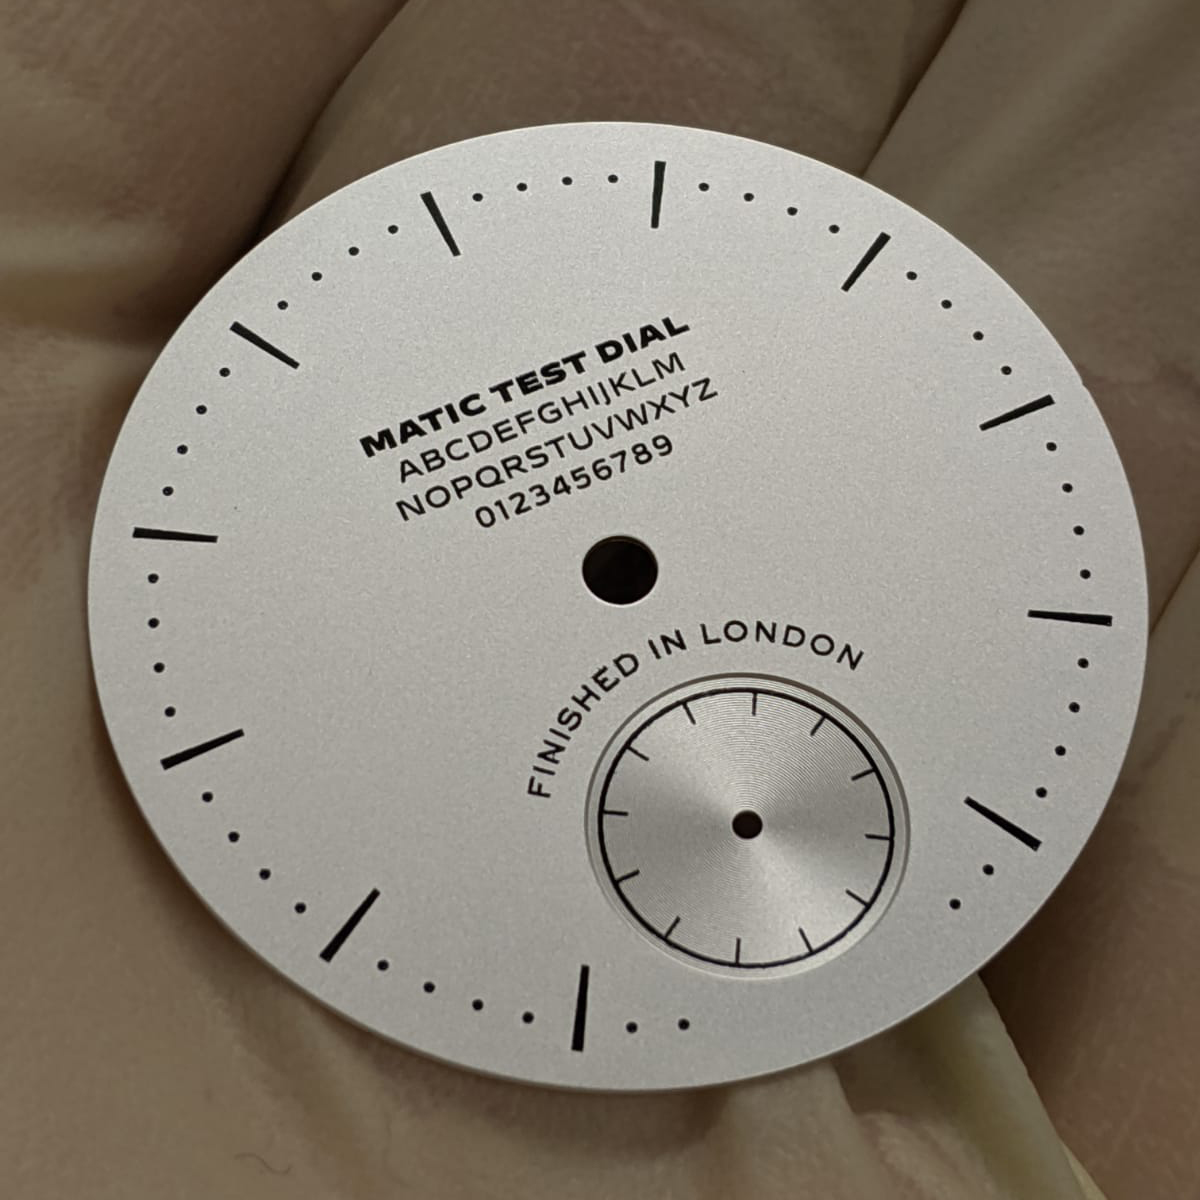
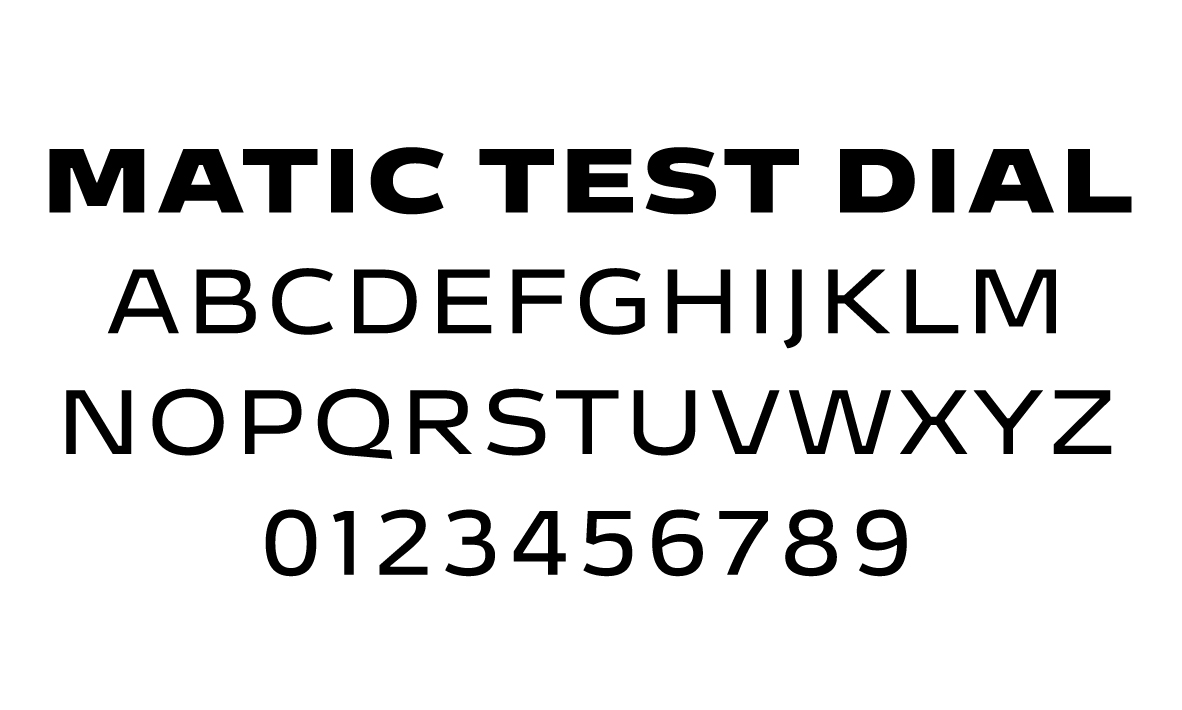
The custom logo area measures about 16×8mm which meant I could display a set of the uppercase alphabet.
The printing showed that Matic ExtraBold doesn’t quite work at 3 point, and I think I need to find a new balance between the Medium weight (which is what the alphabet is set in), and the Regular weight which would be a bit too light at this size. I am quite happy with the overall results however. This dial will certainly help me as I get back to work on Matic.
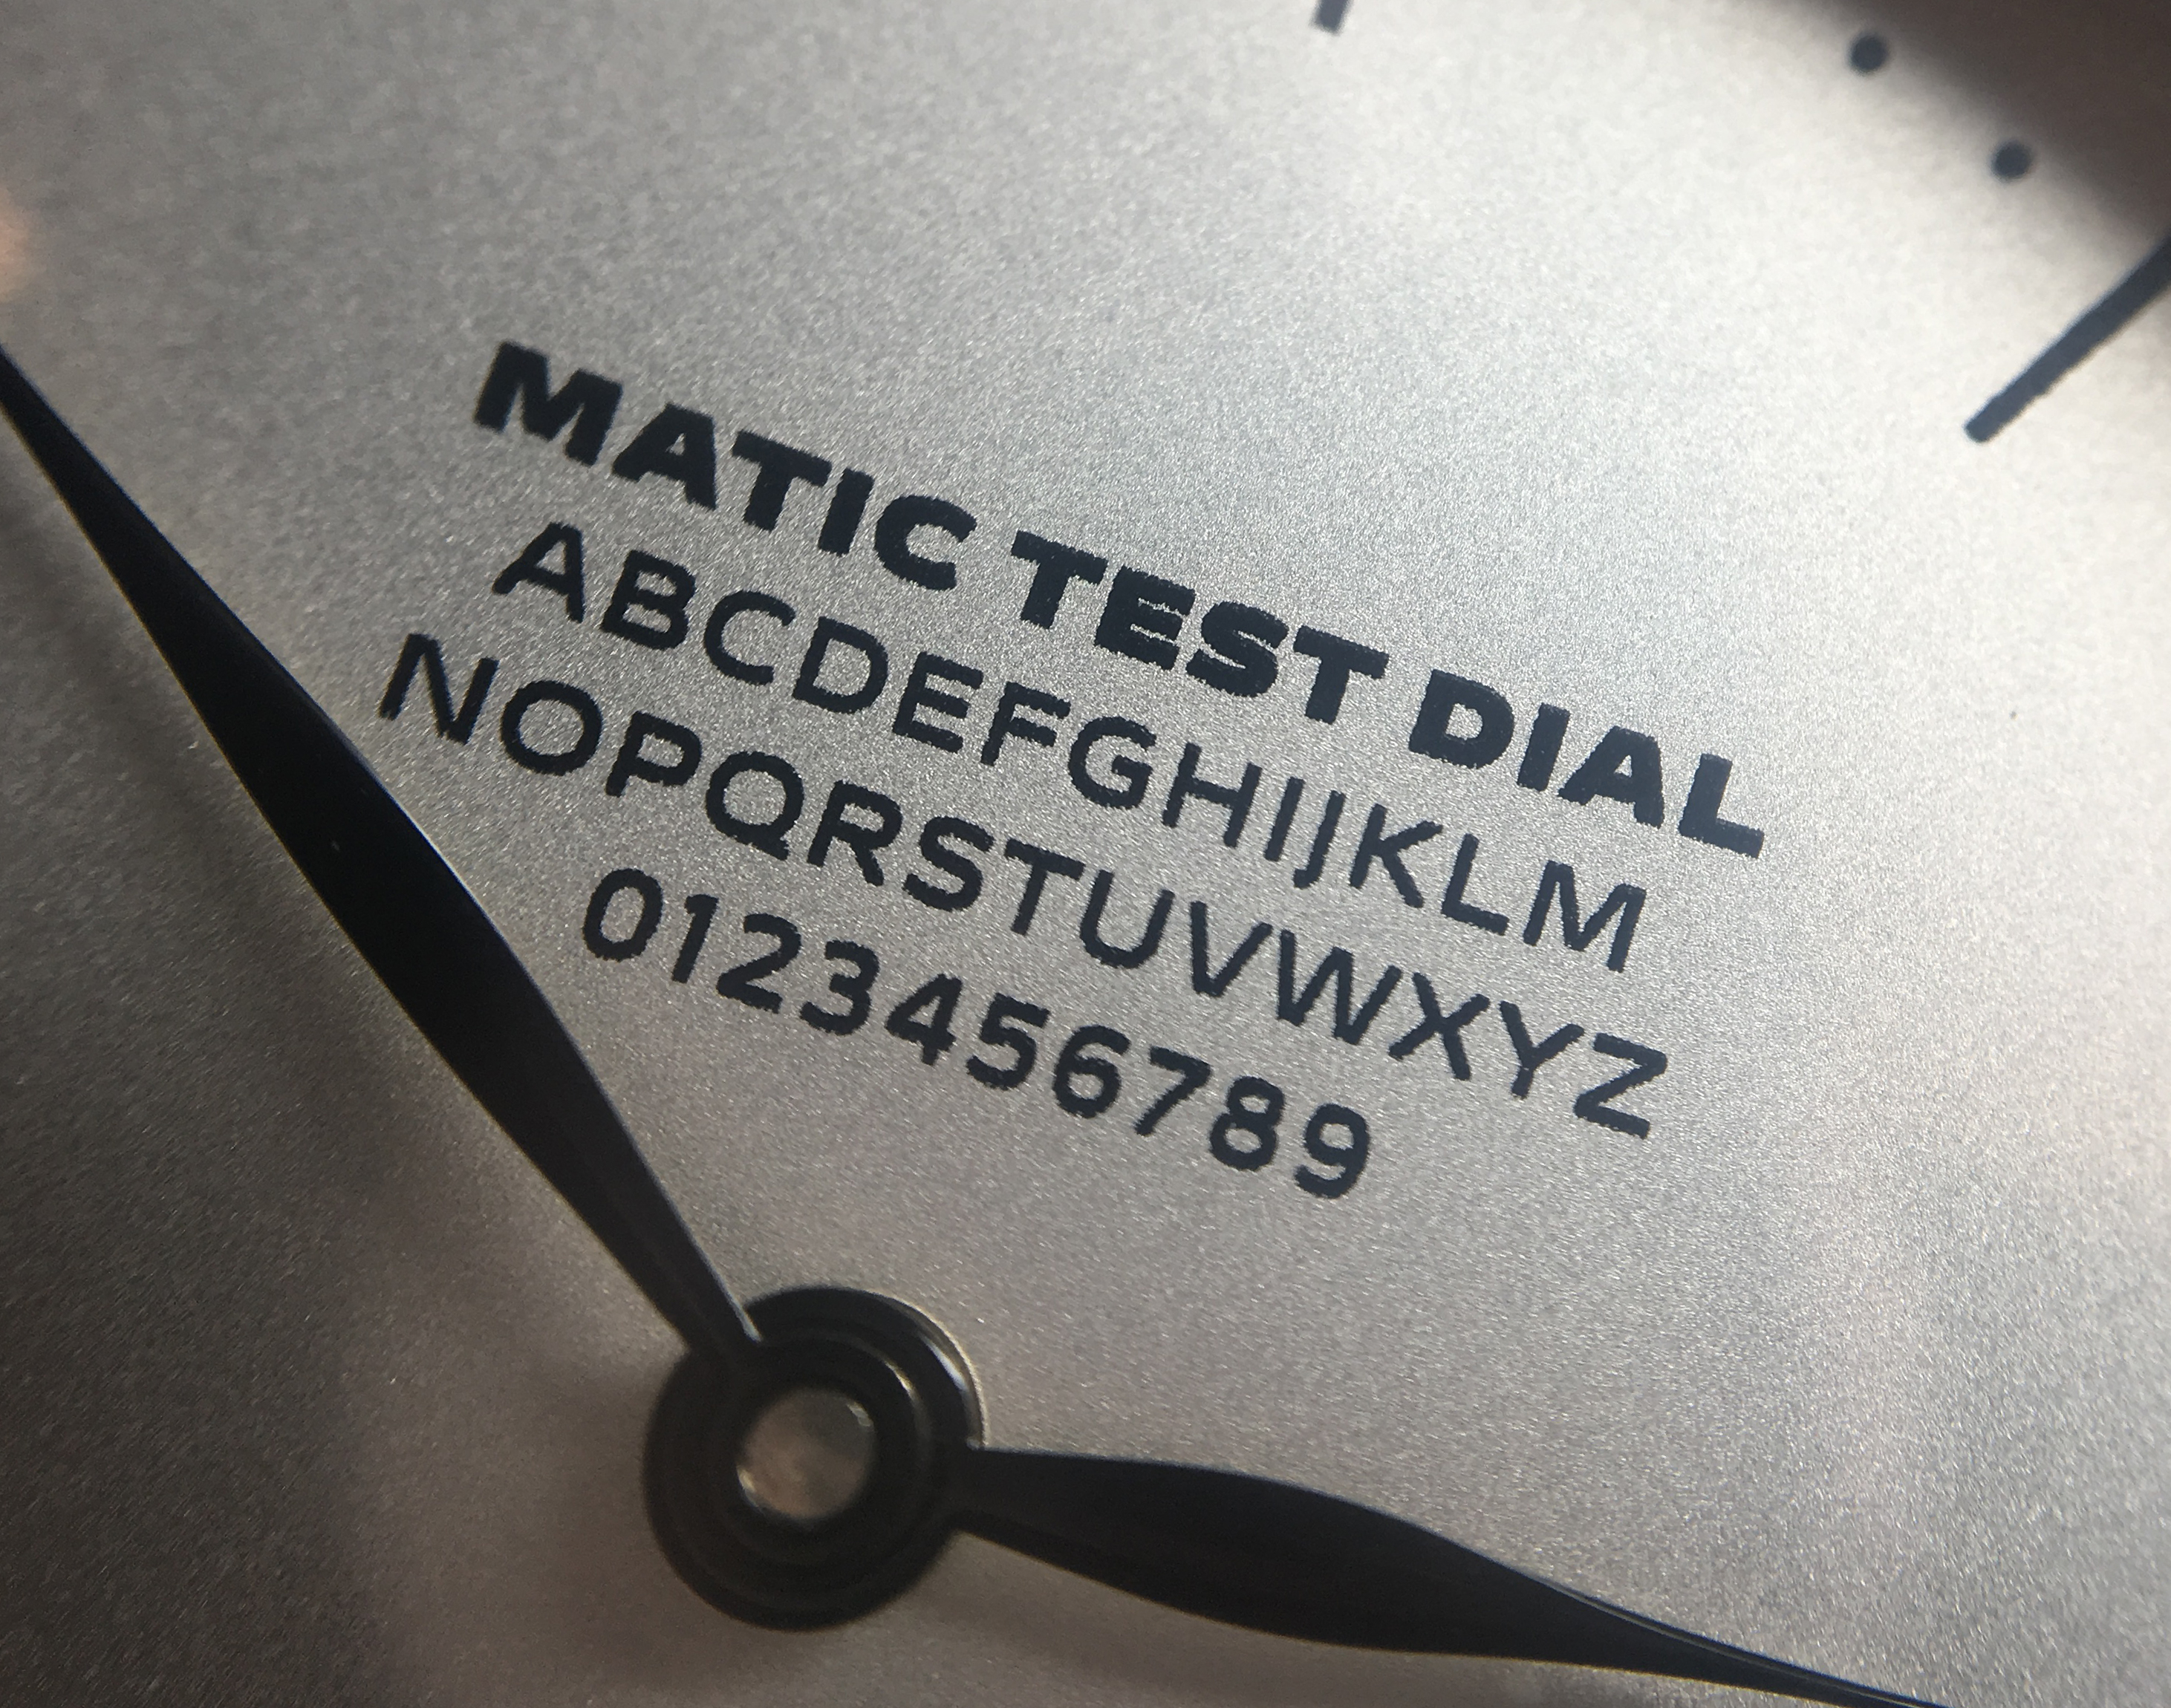
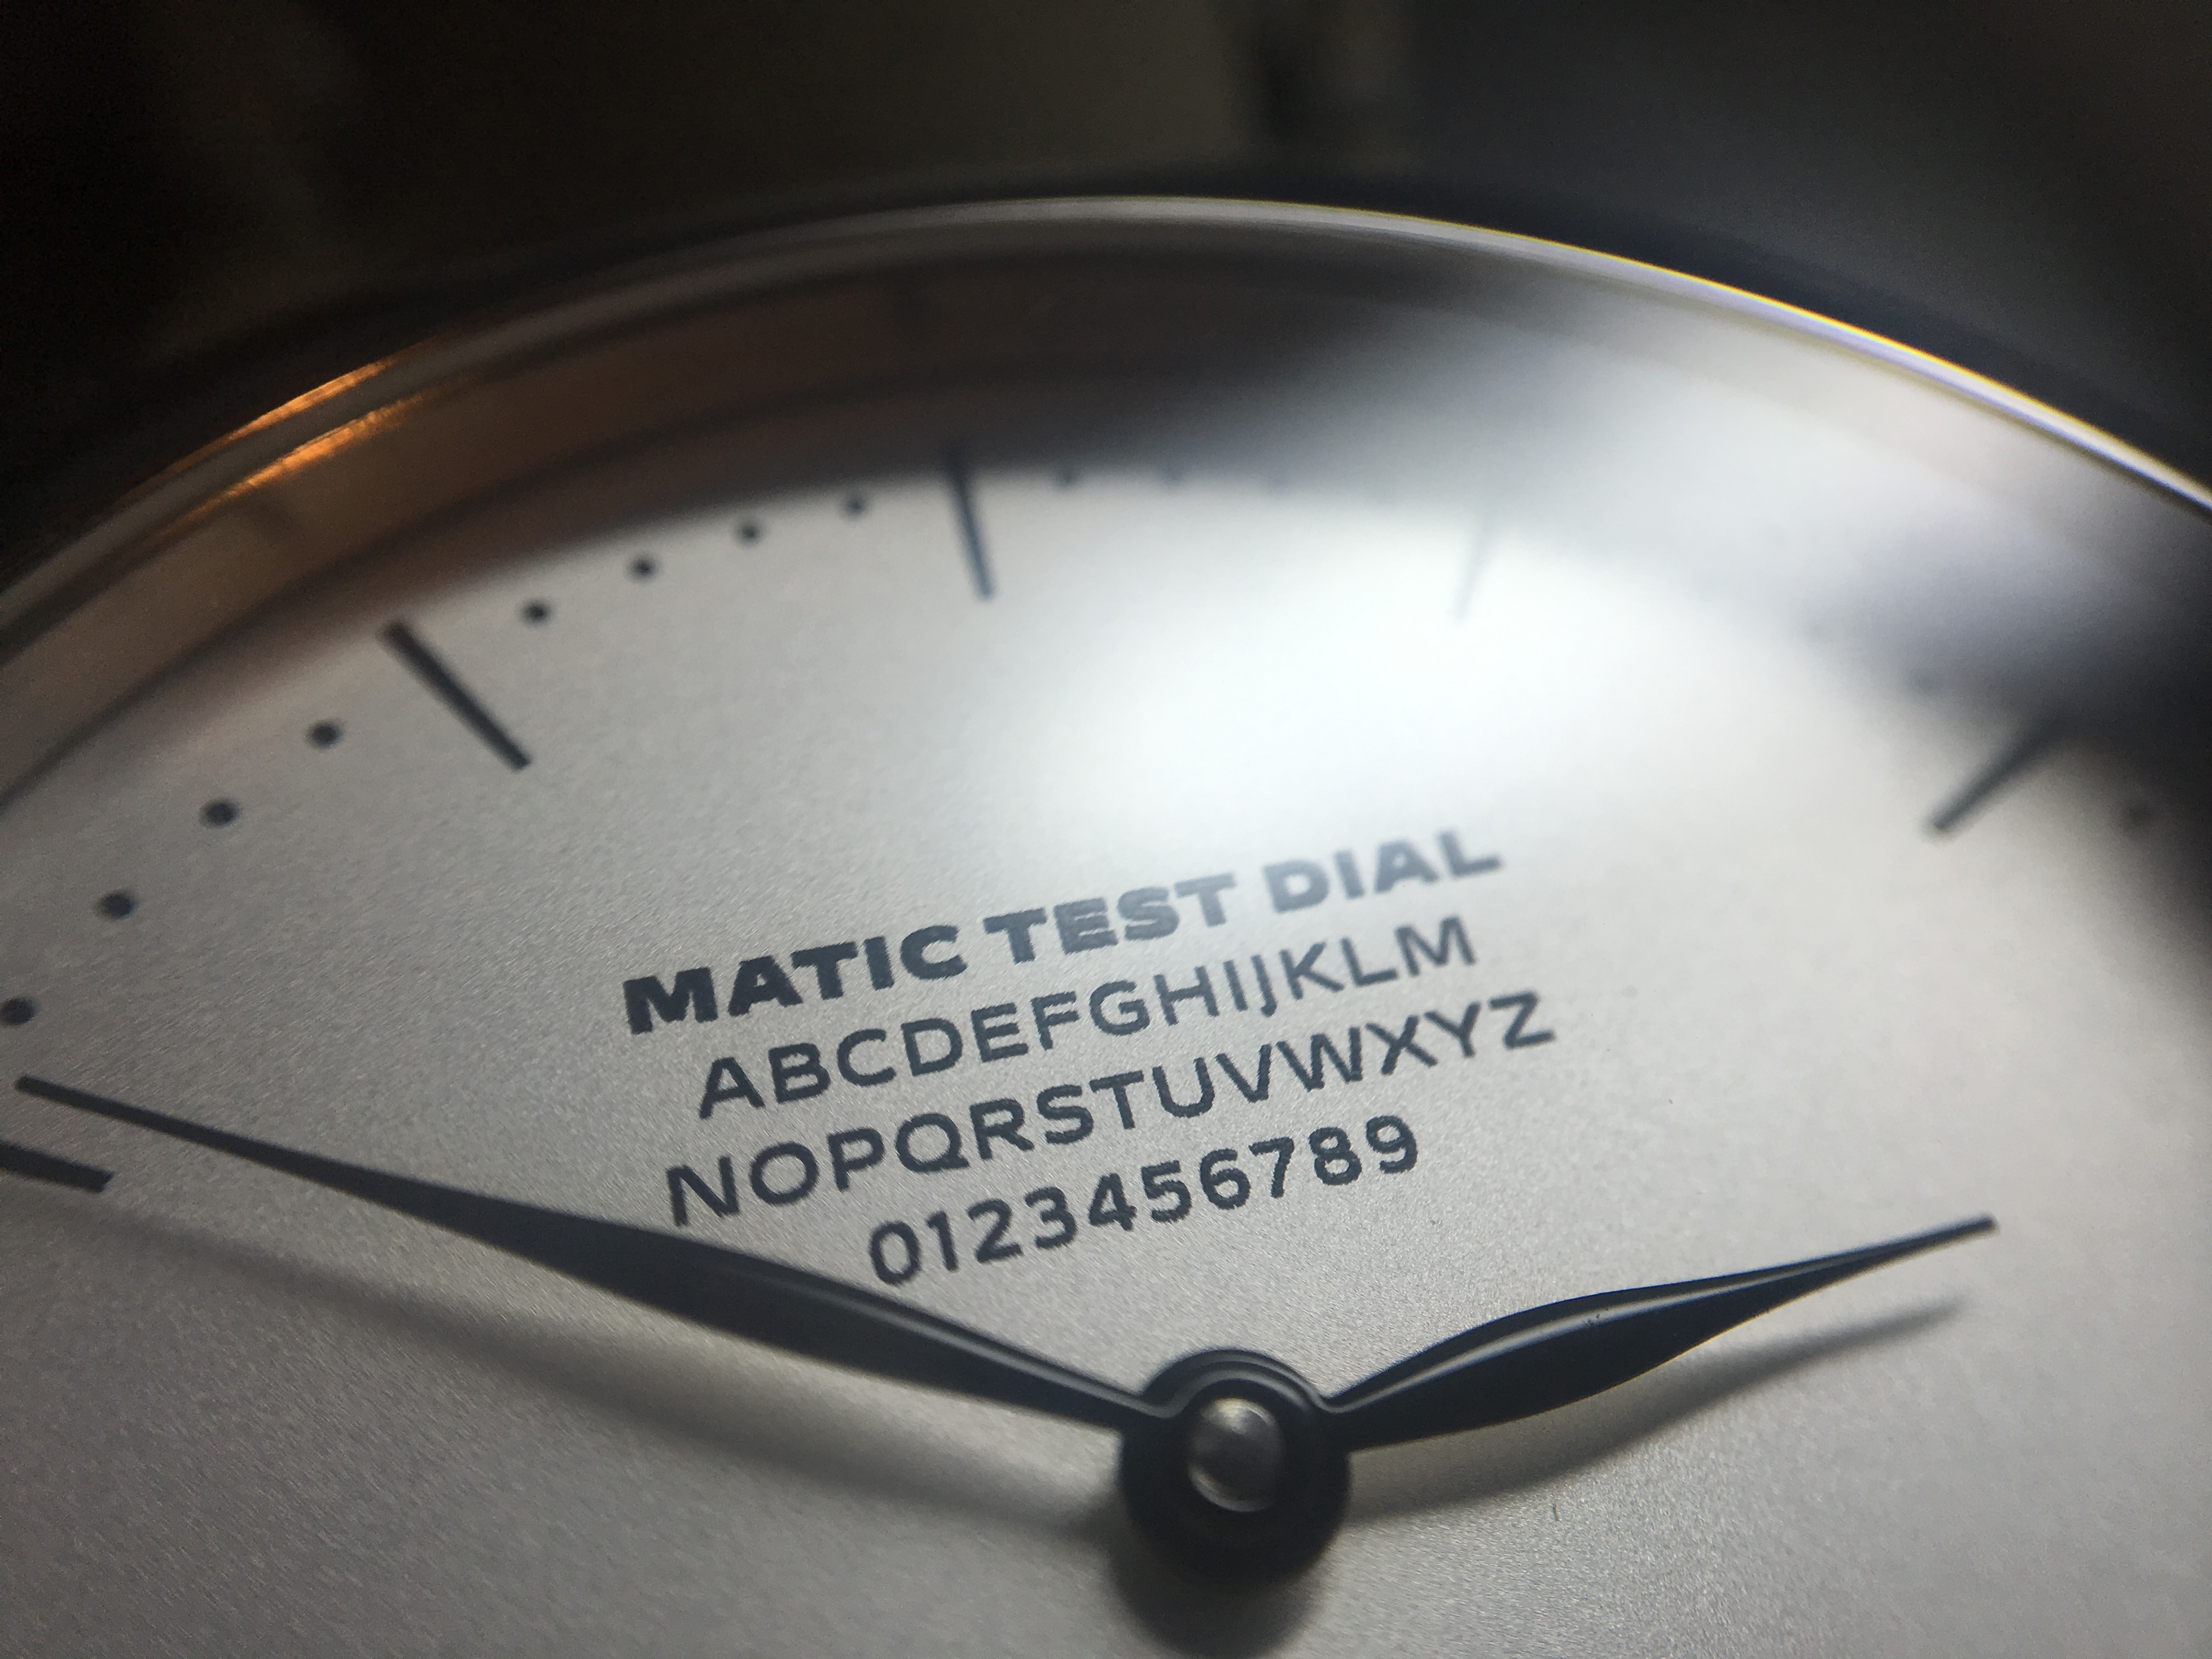
Pad printed type sits on top of the metal dial and can be printed in multiple impressions to build up a thick layer of ink without registration errors. This example uses one impression.

All in all the International Watch Seminar provided an incredibly fun weekend, an unforgettable experience, and an important step forward for Matic. I have watched hours of videos and read countless articles on horology but there is no replacement for getting up close to a movement with a set of screwdrivers and tweezers at your disposal (along with a hovering expert!). It is great to see Matic on a watch, and even better to have that watch strapped to my wrist.
Disclosure: I was invited to participate in this workshop, I did not pay the fee, I did keep the watch. Snacks, lunch, and beverages were provided on both days as well as a dinner on the first evening.
